I made MAJOR progress over the last few days, even if I did have to build the drawer 3 times before I was satisfied with it.
As you read through this, remember that I intend to either sell or give this away when I’m done. That should clue you in to how anal I can be sometimes.
The Fence
Steve’s design has a fence that doesn’t split, but I just couldn’t bring myself to make it that way.
 I had this left over from when I made the fence on my existing router table, so I cannibalized it for this project.
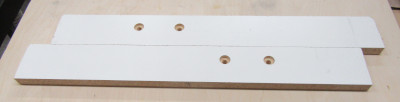
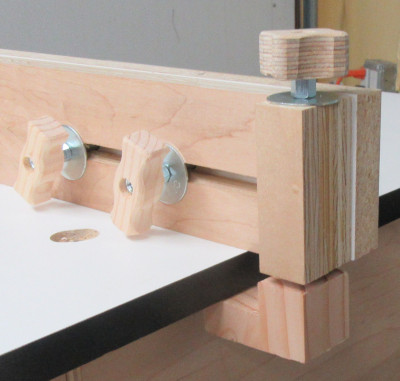
 Looks like a couple of grinning faces. Oh, and I cut the fence back with the slots for the bolts.
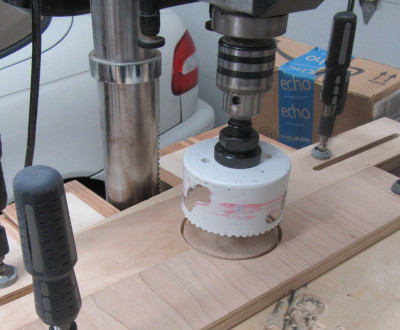 I cut the half-hole in the fence back using a hole saw, with a piece of scrap wood butted up against it.
 And of course I had to make knobs, using the technique I show in my How to Make Knobs for Shop Jigs, for Newbies! video.
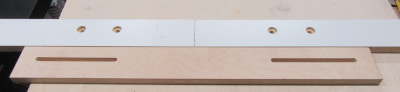
 Here it is, assembled (without the clamps).
This is the front…
Here it is, assembled (without the clamps).
This is the front…
 …and this is the back.
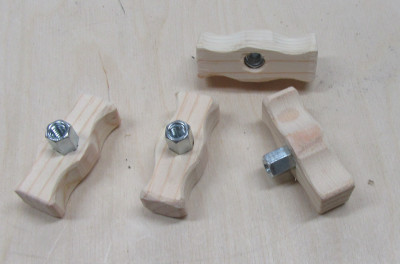
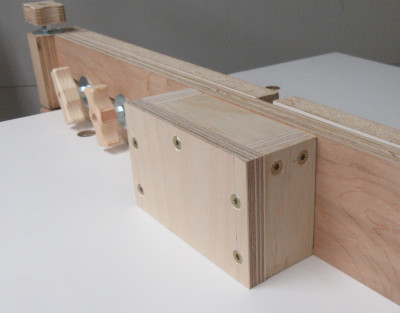
 Here’s one of the clamps. It’s pretty-much Steve’s design, with my DIY star knobs.
 Here’s the dust port. I didn’t cut the hole, because I figured whoever ended up with it would want to size the hole for their dust hose.
Also, I didn’t glue it, so they could remove it easily.
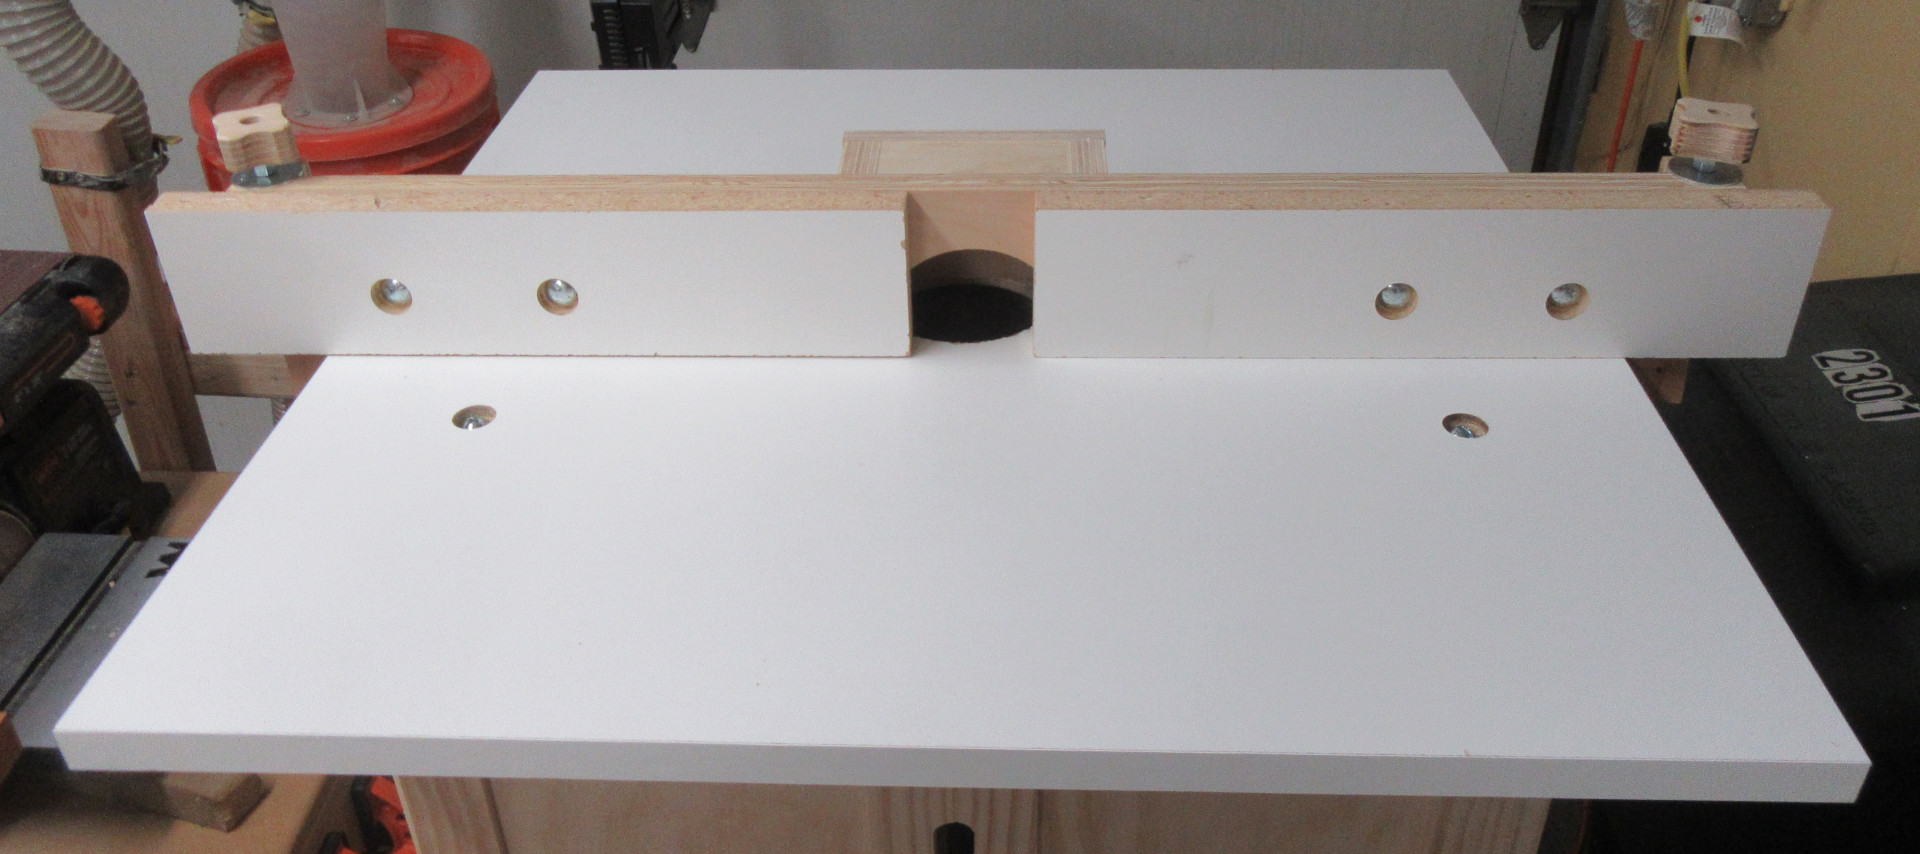 Here’s the whole thing.
Click image to view full sized
The Drawer
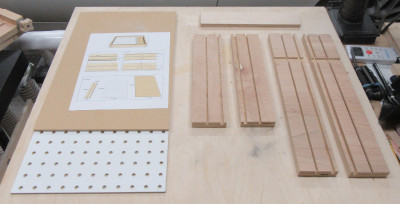 I modified Steve’s drawer design. Here’s the parts all cut out.
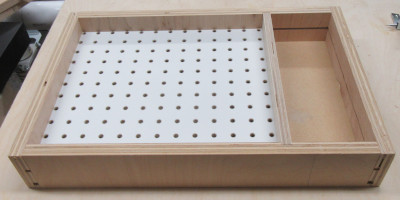 Here’s the first iteration of the drawer. In Steve’s design, the pegboard covers the entire drawer, but I wanted to leave room for other things, including bits that are too tall to sit vertically in the pegboard.
The problem is, Steve’s design has the drawer being only 3” tall. Combine that with the fact I used 1/4” stock for the bottom of the drawer, and placed it in dados 1/4” from the bottom, and the drawer ended up being too shallow.
 You can click on this image to view it full-sized.
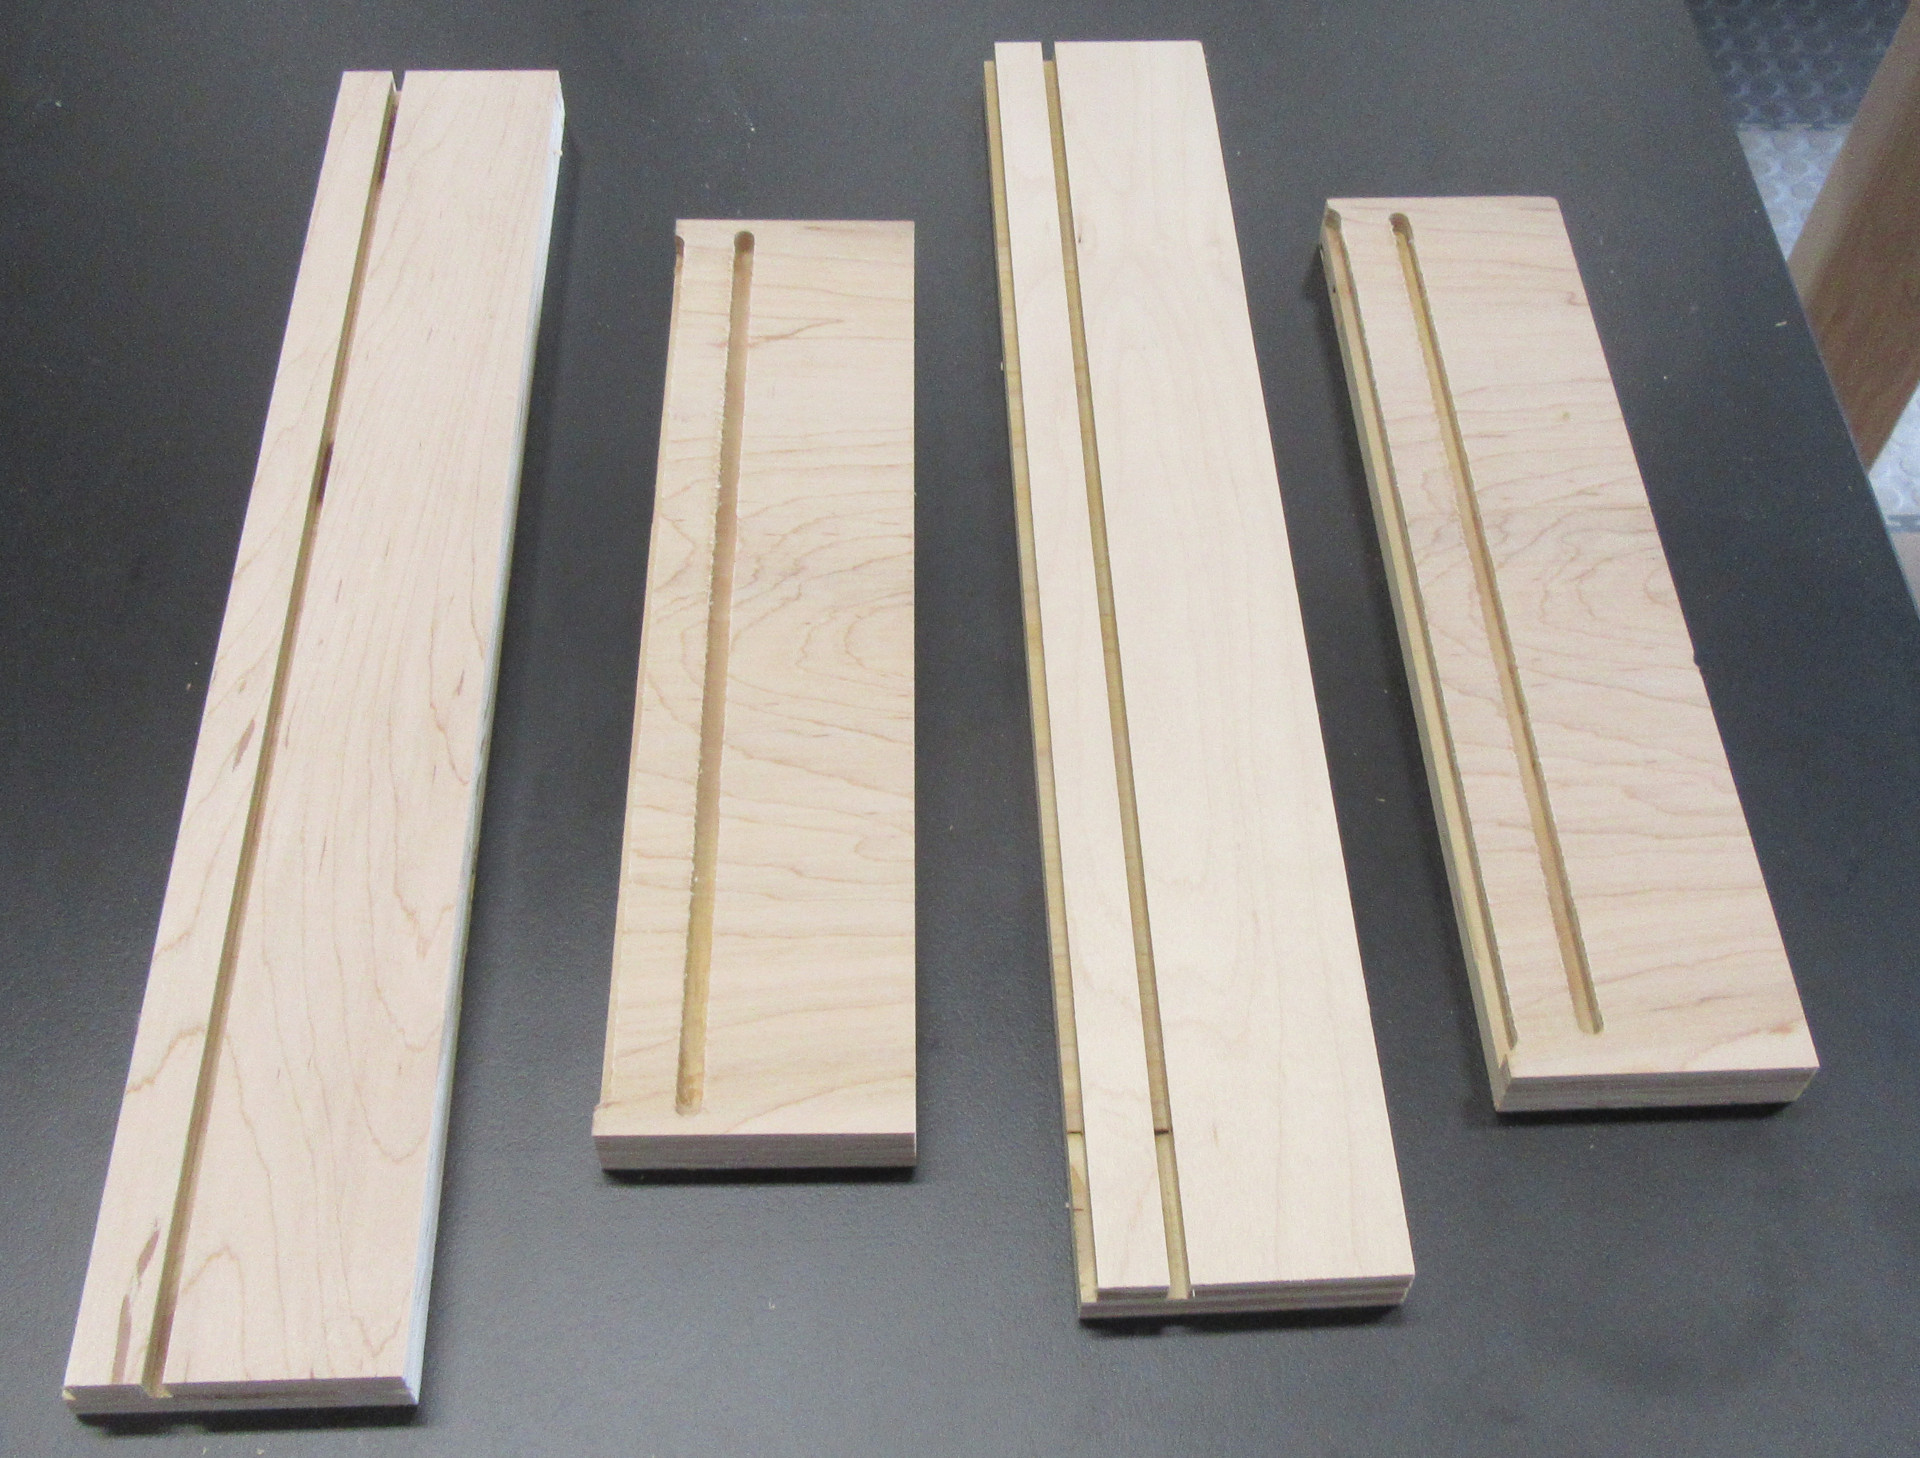
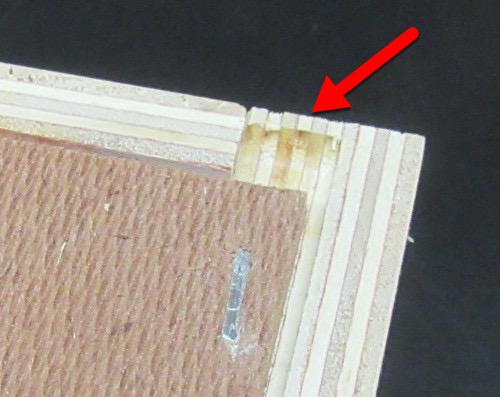
Here’s the second set of drawer sides. This time I’m using 1/8” stock for the bottom, and it’s recessed so it’s flush with the bottom of the sides.
And if you look closely at the two shorter pieces, you’ll see the dados and rabbets don’t go all the way to the ends. This hides the holes so you can’t see them from outside the box (unless you look underneath).
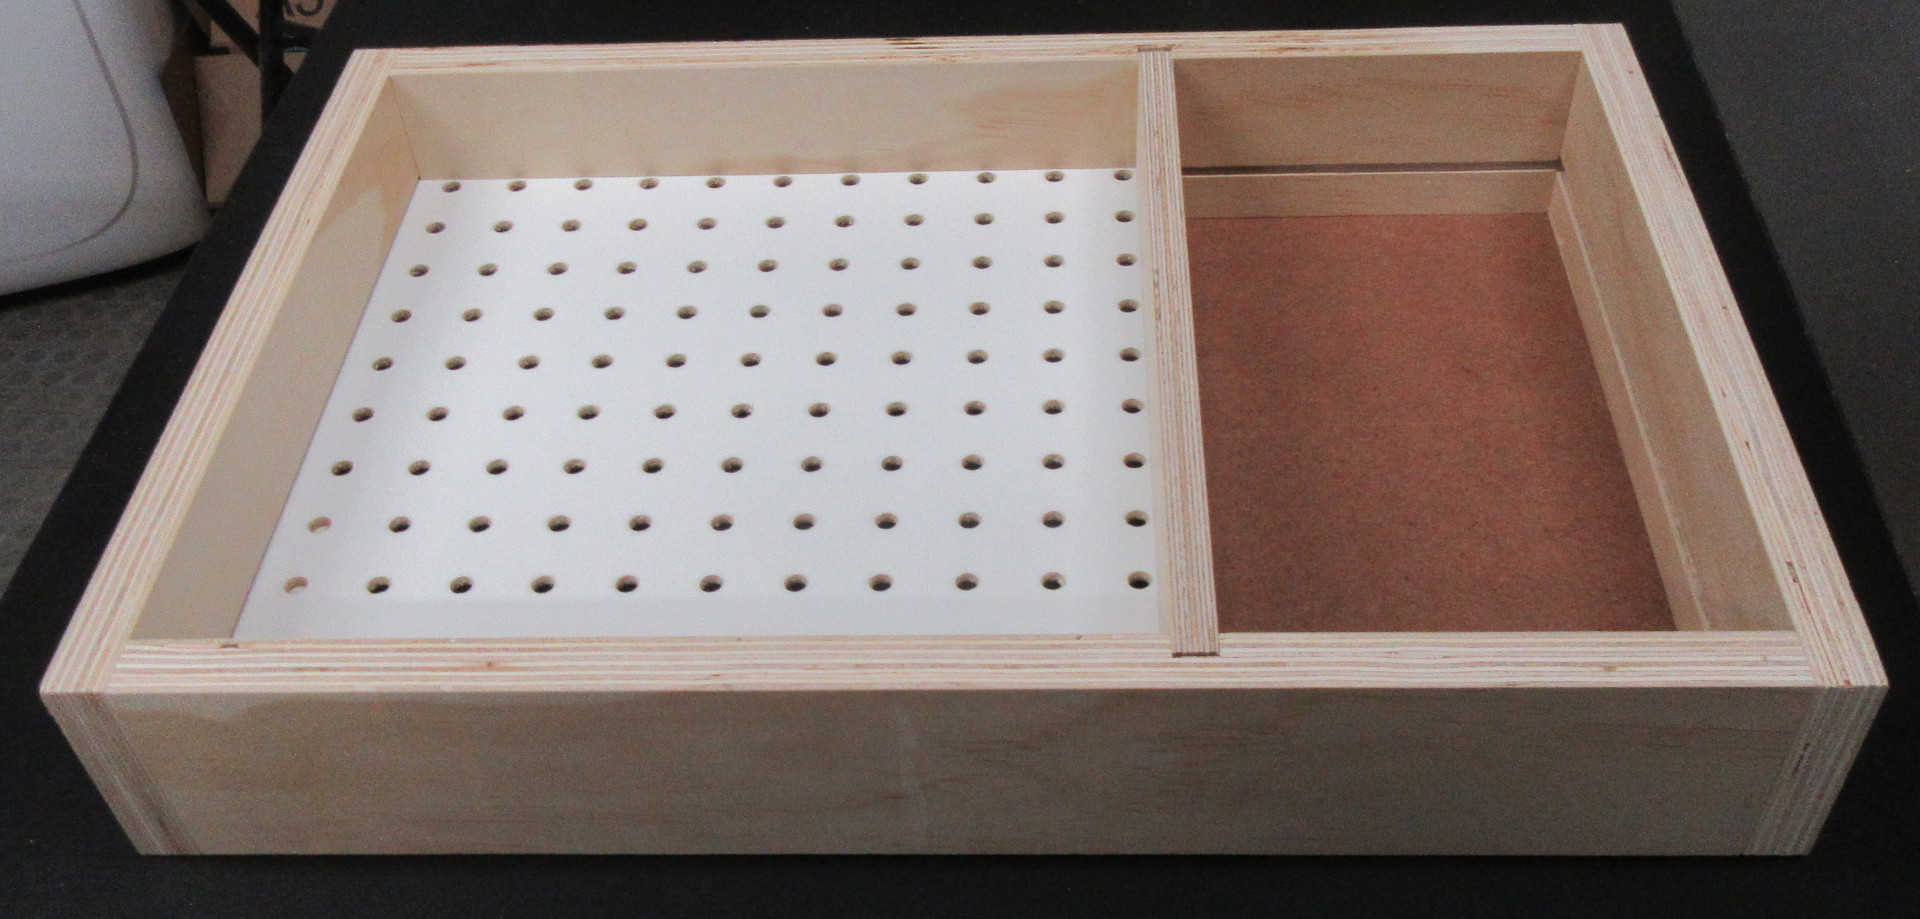 Of course, I managed to screw those up too, so I did it one more time, and finally got it right.
You can click on this image to view it full-sized.
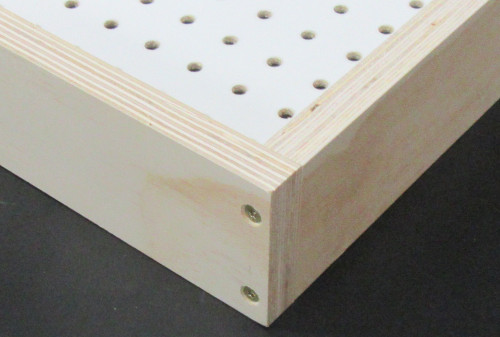 Notice you can’t see the rabbets or dados from the outside.
Oh yeah, I decided to use butt joints and screws, because I just wanted to get this done. It looks fine. You don’t always have to use fancy joinery.
 Here’s a picture of the bottom, so you can see how the rabbet doesn’t go all the way through.
Almost Done!
Just have to add the drawer front & knob, cut a hole for the power cable, and build a simple rolling base. Hopefully I’ll be done tomorrow. Famous last words.
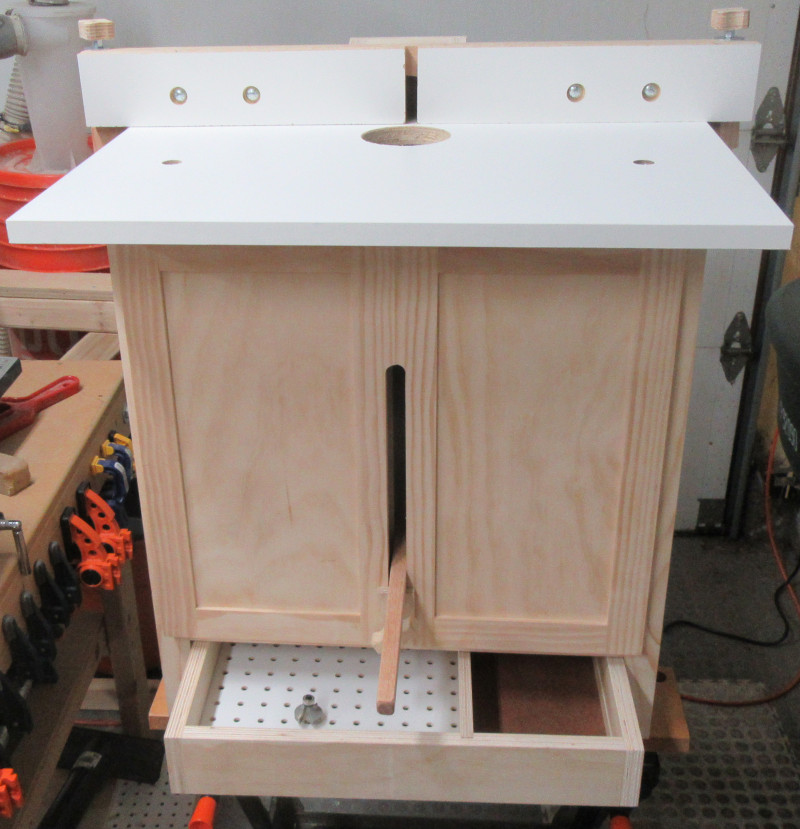
What? Did you say a rolling base? I thought this was supposed to be a benchtop router table?!
Yeah, well, with my changes for the router lift, it’s now just 10” shorter than my table saw, so I figured I’d better chuck the “benchtop” idea, and build a stand.
Later.
Comments
Now you can comment as a Guest!
You won't receive email notifications of my replies, though.
- Use any name.
- Use test@example.com for your email address.
- “Check” all the boxes. Since you’re using a fake email address, it doesn’t matter what you agree to. 😛
I’ll have to approve your comment, but as long as you’re not spamming me, that’s no problem. Just remember that I do sleep sometimes, or I might be in the workshop, so I might not approve it right away.