I finally managed to get back to working on the router table. Today I added the melamine top.
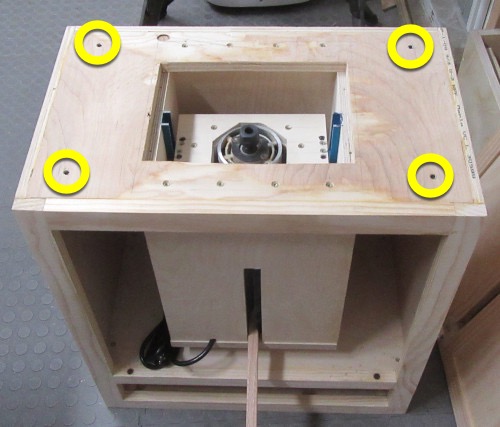 I added 4 threaded inserts to the sub-top…
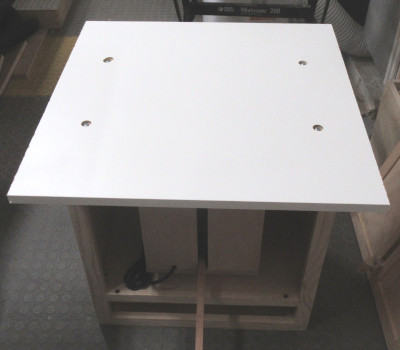 …and added 4 counterbores to the melamine top, and screwed it down.
This lets me remove the top easily, to get to the router lift.
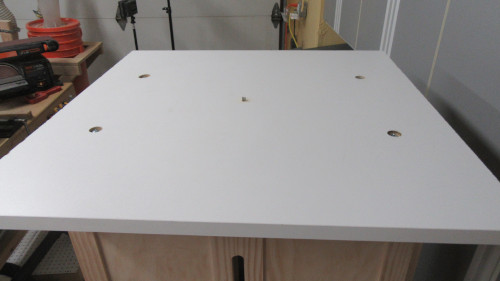 I put a 1/4” bit in the router, and raised it up to cut a hole in the top…
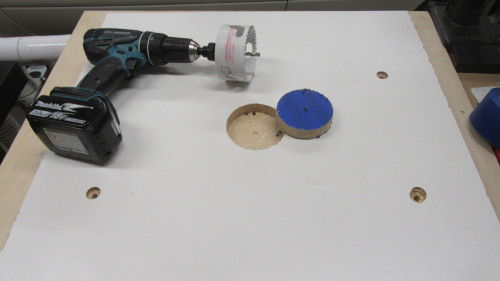 …then I cut a hole using a 3 1/2” hole saw.
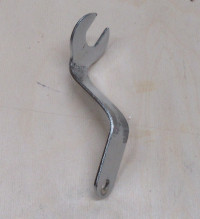 This is the wrench that you use when changing router bits, that keeps the collet from spinning.
As you can see, I bent it…
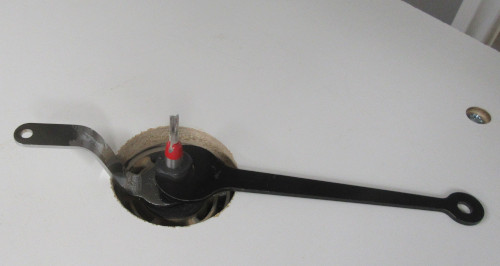 …so it’ll fit in the hole, like this.
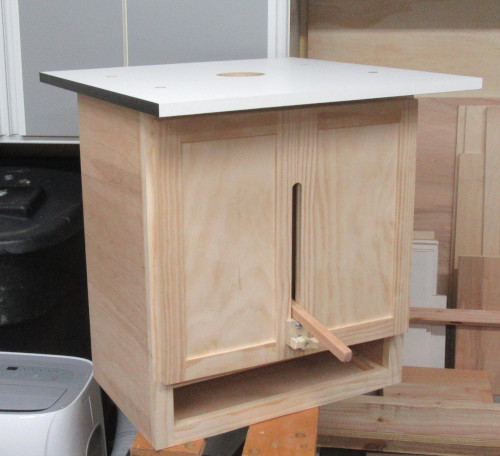 And finally, I added black edge banding (which was all I had on hand) to the three sides that were bare.
The front already had white banding on it, so I left it that way. At least now you know which is the front, if you take the top off and then try to put it back on.
Next up is either the drawer, or the fence.
Selling the Router Table
I need to get this finished before next weekend, because we’re going to try and sell it at the community garage sale.
I’m going to sell it with the lift, so even if someone doesn’t want the table, they can buy it just for the lift. I’ll offer to include the Harbor Freight router with it, and also the Rockler power switch, although they’ll have to pay me what I paid for the switch.
Later.
Comments
Now you can comment as a Guest!
You won't receive email notifications of my replies, though.
- Use any name.
- Use test@example.com for your email address.
- “Check” all the boxes. Since you’re using a fake email address, it doesn’t matter what you agree to. 😛
I’ll have to approve your comment, but as long as you’re not spamming me, that’s no problem. Just remember that I do sleep sometimes, or I might be in the workshop, so I might not approve it right away.