I installed the router lift in the table today. It was a great day. No mistakes. Honest!
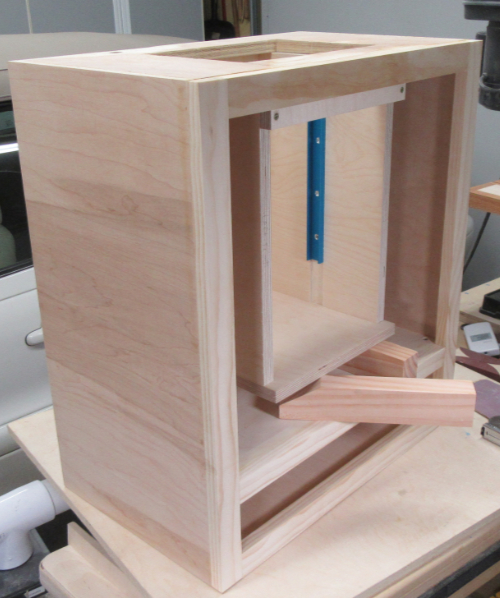
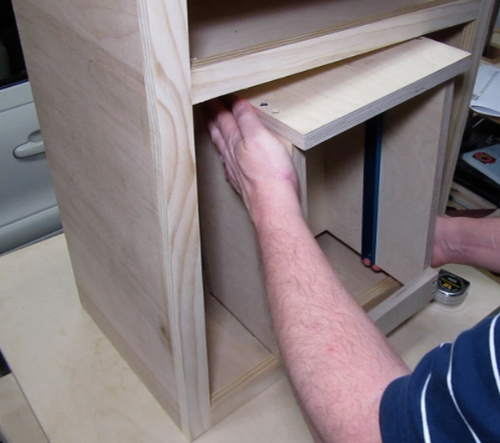 I’ve got the router table upside down, and I placed the router lift (also upside down) inside to see where to position it.
I used SketchUp to figure out exactly where to position the lift (1), then made blocks (2) so it would be easy to get the lift in that spot.
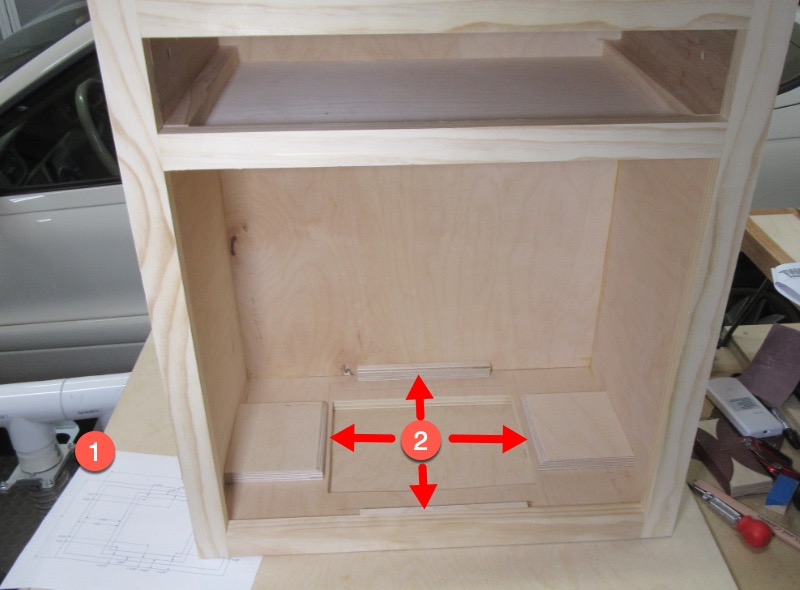
The edges of the blocks are rounded over to make it easer to slide the lift into place.
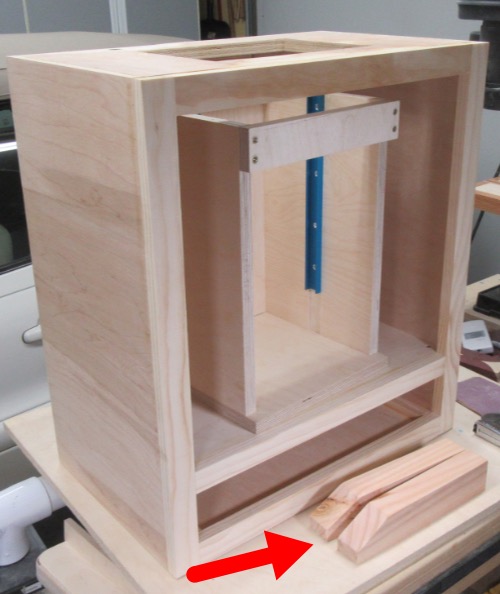 (The table and router are right-side up now.)
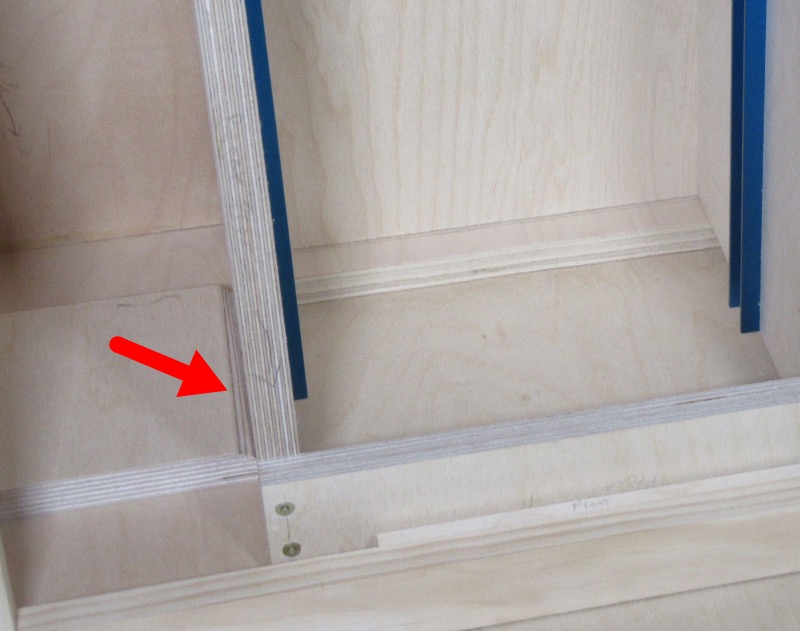
I made a couple of blocks to put under the lift so it rests against the top. The fronts of them are angled to make it easier to slide them under the lift…
 …like this.
 After attaching the lift to the table with screws, here’s the lift in operation.
Hot Dog!
I finally feel like I’m accomplishing something!
Later.
Comments
Now you can comment as a Guest!
You won't receive email notifications of my replies, though.
- Use any name.
- Use test@example.com for your email address.
- “Check” all the boxes. Since you’re using a fake email address, it doesn’t matter what you agree to. 😛
I’ll have to approve your comment, but as long as you’re not spamming me, that’s no problem. Just remember that I do sleep sometimes, or I might be in the workshop, so I might not approve it right away.