Day 3 of building my router lift. But apparently not just the router lift, today.
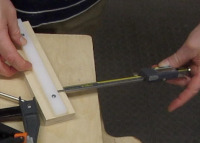 I started by building the carriage. Which meant, among other things, I had to attach the runners in the centers of the carriage sides.
They really just have to be the same on both carriage sides, and parallel with the edges of the carriage sides. I think I did OK.
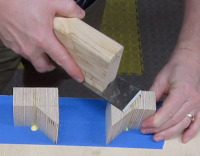
 I cut the block that will be split into the carriage bottom, and the top spacer.
Then I checked to see if the tracks are even from top to bottom, and it looks like the top is a hair wider, so I’ll have to shim it later. No big deal.
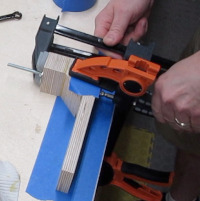
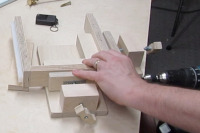 I attached the carriage bottom with, what else? My DIY Corner Clamps.
Have I mentioned that plans are available, and you can even see a preview of them? 😄
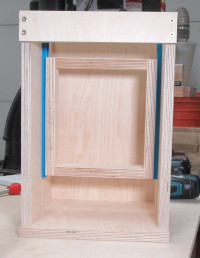 So the carriage is ready.
Now I just need to make the router mount.
 So, yada yada, I cut the parts for the mount, glued them up, and cleaned up the squeeze out using my prototype chisel plane, which I may or may not pursue.
When this happened:
 In case you can’t tell, my drill-powered table crank for my drill press table is just spinning, without moving the drill press table.
 The hole in the crankshaft was stripped, so I had to fix that.
 Which I did.
 Then I did some more gluing and clamping…
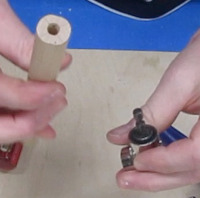
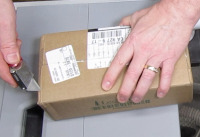 When I got a package from Lee Valley!
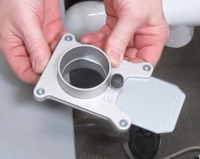 It’s a new blast gate to replace the one whose door keeps getting stuck.
And no, it’s not clogged. 😛
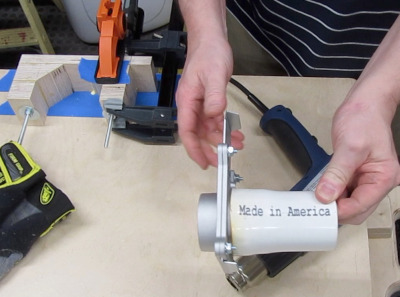 It’s a slightly different size, so while the second part of the router mount’s glue was drying, I used a heat gun to mold some PVC to make an adapter.
 So with the new blast gate installed, it’s time to call it a day.
Like I said in the title of this post, that was fun!
Later.
Comments
Now you can comment as a Guest!
You won't receive email notifications of my replies, though.
- Use any name.
- Use test@example.com for your email address.
- “Check” all the boxes. Since you’re using a fake email address, it doesn’t matter what you agree to. 😛
I’ll have to approve your comment, but as long as you’re not spamming me, that’s no problem. Just remember that I do sleep sometimes, or I might be in the workshop, so I might not approve it right away.