I started building the router lift today.

Always check for a square blade.
 I needed to cut a couple of dados for my miter tracks, so I used the technique from my Perfect Dados, No Jigs Required! video, and cut a spacer…
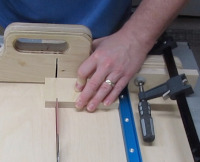
 …which I cut in two, and placed between my fence and my sacrificial fence, and cut one side of the dados…
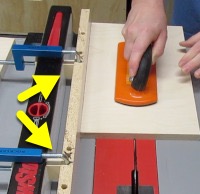
 …then I removed the spacers and cut the other side of the dados.
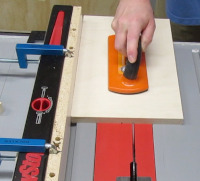
And then cut out everything in between.
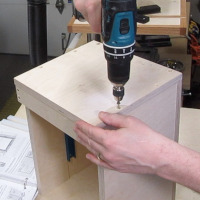
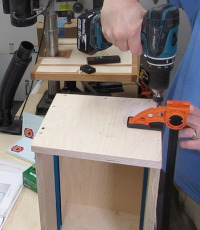
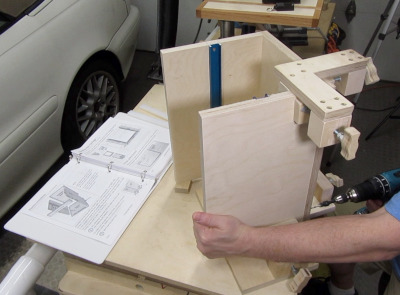 After installing the miter tracks in the dados, I used my DIY Corner Clamps to help me attach the front, back and sides.
Notice that I use my own plans, although I printed them in black and white because my printer is dying.
Then I installed the bottom on the top…
 …before realizing that the bottom actually belongs on the bottom…
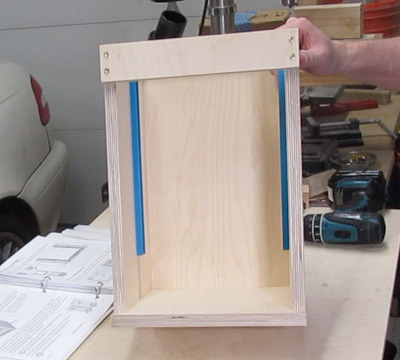 And this is as far as I got today.
And for those who missed this in the other places I posted it:
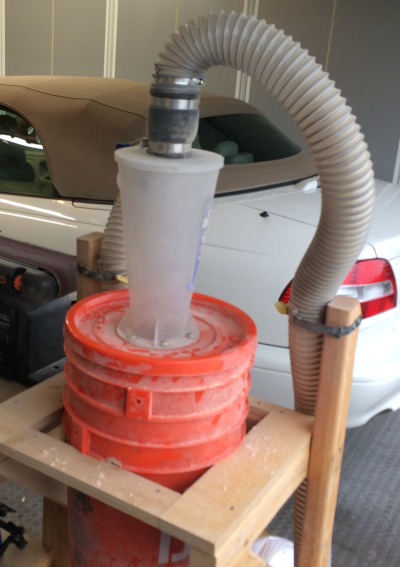 It does no good to have a cyclone system, if you don’t empty out the bucket.
Because when the bucket gets full, the dust only has one place to go…
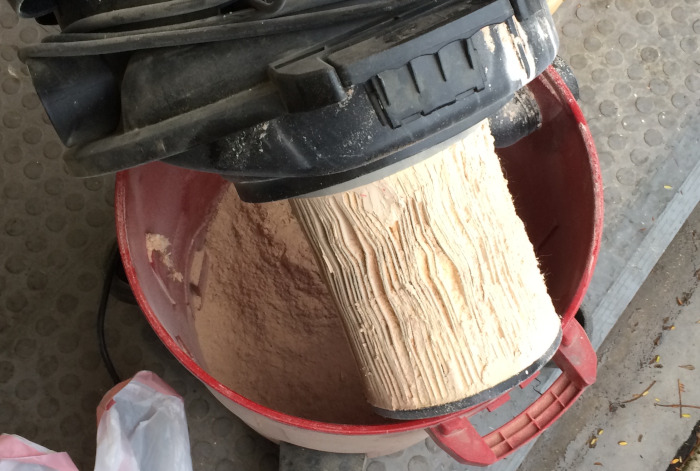 …and that’s straight into the shop vac, and its filter.
Which then has to be cleaned.
In the rain.
Good times.
Later.
Comments
Now you can comment as a Guest!
You won't receive email notifications of my replies, though.
- Use any name.
- Use test@example.com for your email address.
- “Check” all the boxes. Since you’re using a fake email address, it doesn’t matter what you agree to. 😛
I’ll have to approve your comment, but as long as you’re not spamming me, that’s no problem. Just remember that I do sleep sometimes, or I might be in the workshop, so I might not approve it right away.