I’ve been kind of busy the last couple of days with other things, so I haven’t gotten a lot done. On the other hand, it feels like I got a lot done, for some reason.
Here’s what I got done:
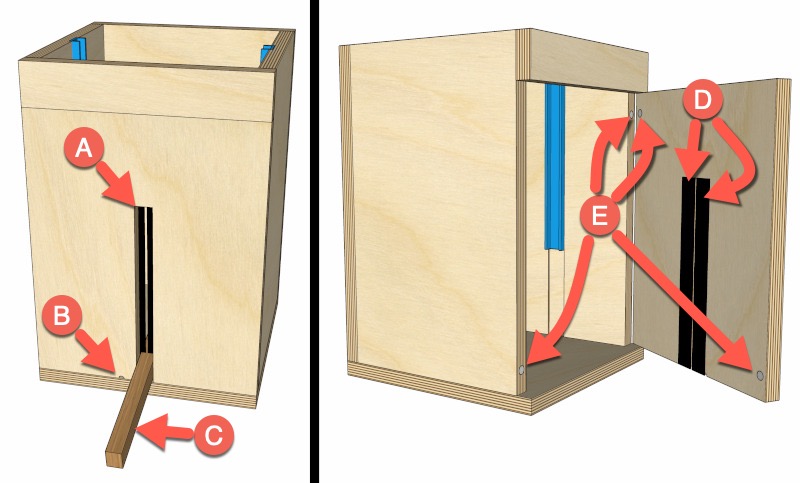
(A) Cut the lever slot.
(B) Cut the hole for the power cord.
(C) Cut and shaped the new lever.
(D) Added the bicycle innertube rubber to keep the sawdust inside the housing.
(E) And added the magnets.
Here’s a few highlights:
Cutting the Lever Slot
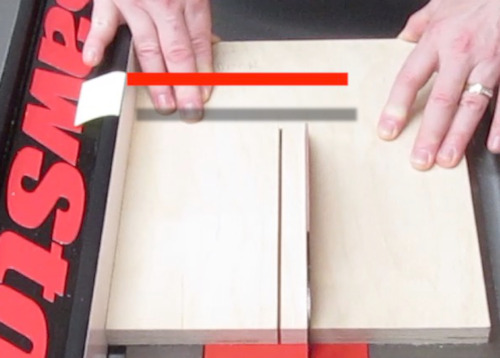 I cut the two sides of the lever slot on the table saw.
I placed a yellow stickie on the fence, so I could eyeball where the bottom of the blade was, so I didn’t cut too far.
Then I finished with the band saw.
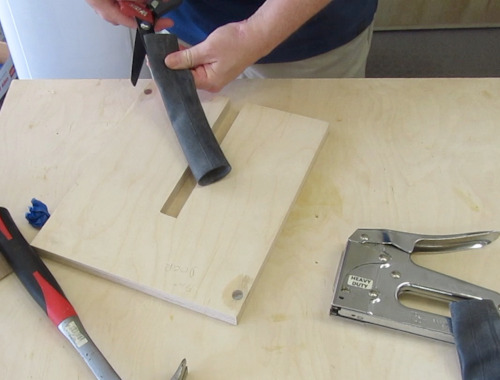
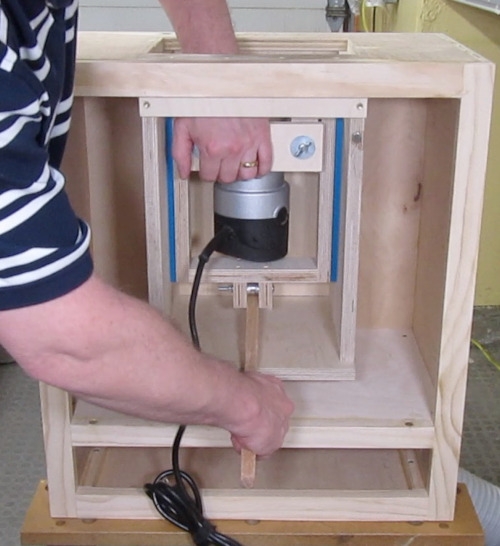
The Bicycle Innertube
 You can see here I’ve already added the magnets. I didn’t record that, for some reason.
I cut up a portion of old bicycle innertube I got from a local bike shop for free…
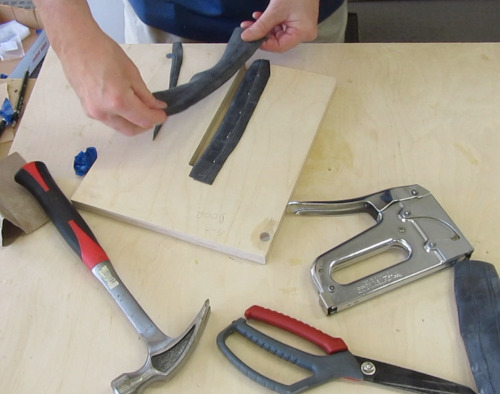 …then stapled two overlapping pieces over the hole.
I had to use a hammer to get the staples all the way in, since Baltic Birch plywood is so hard.
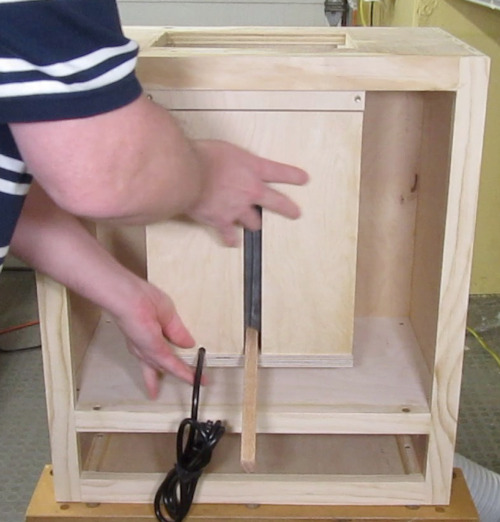
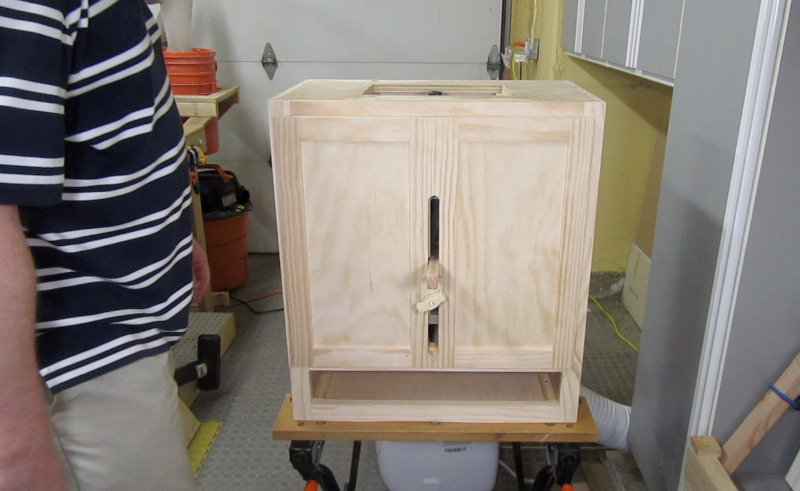
Putting it All Together
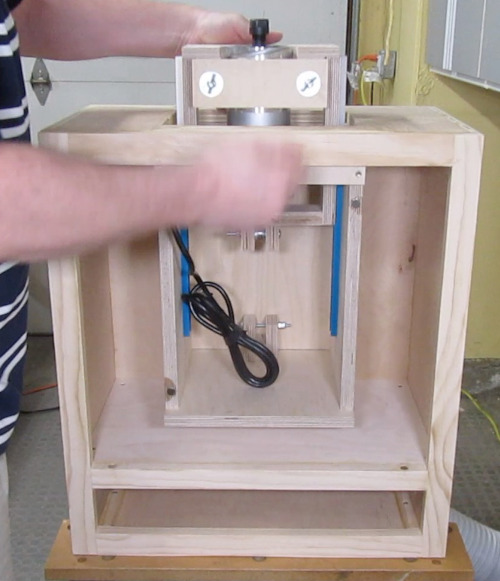
Here’s the router lift carriage, with the router.
The new lever.
The router lift housing door.
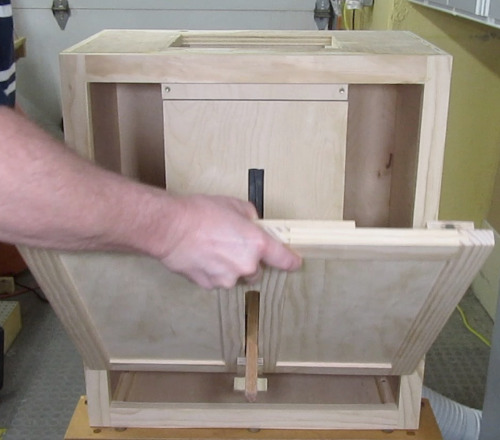
And the cabinet door.
It’s getting closer!
Later.
Comments
Now you can comment as a Guest!
You won't receive email notifications of my replies, though.
- Use any name.
- Use test@example.com for your email address.
- “Check” all the boxes. Since you’re using a fake email address, it doesn’t matter what you agree to. 😛
I’ll have to approve your comment, but as long as you’re not spamming me, that’s no problem. Just remember that I do sleep sometimes, or I might be in the workshop, so I might not approve it right away.