NOTE: This post is intentionally long, to give you some feel for how many details there are in some seemingly simple tasks. If you don’t want to wade through everything, just scroll to the bottom to see the results. But you’ll be missing out on all the fun!
Yesterday
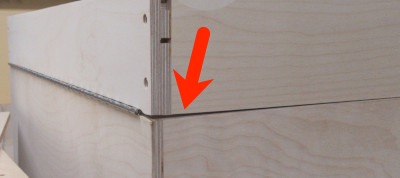
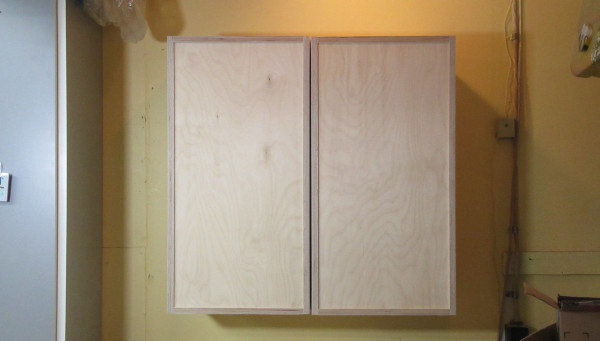
Yesterday, I had problems mounting the hinges so there wasn’t a gap when the doors closed.
Eventually I got it right, but it took longer than it should have. Don’t I say that every day?
Today
I had actually overcompensated yesterday, so today I did some sanding to get the doors to close without any problems.
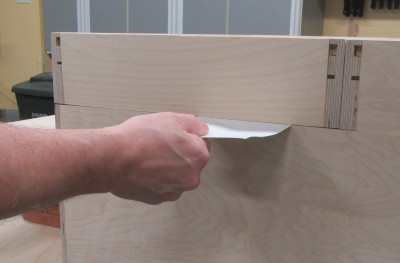
I used a piece of paper to find out where the door was hitting the cabinet, so I knew where to sand. Eventually, to doors closed pretty close to perfectly.
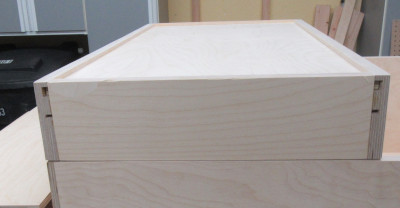
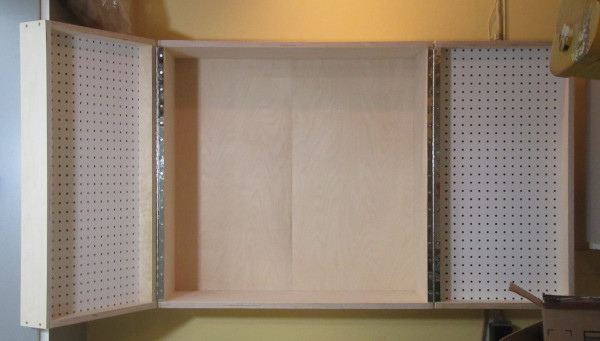
Then I glued on a bunch of 2” long pieces of hardwood, to help keep the back from coming off, just in case.
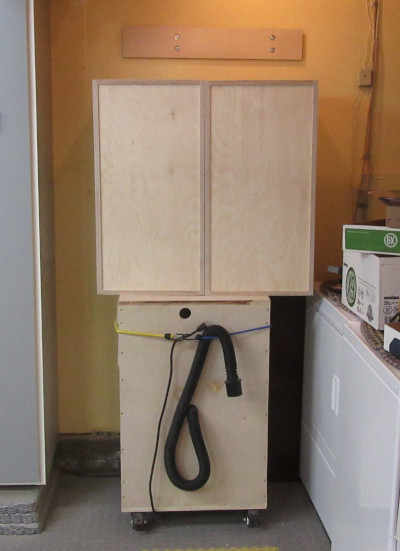
I needed to figure out how I was going to get the cabinet over to the wall…
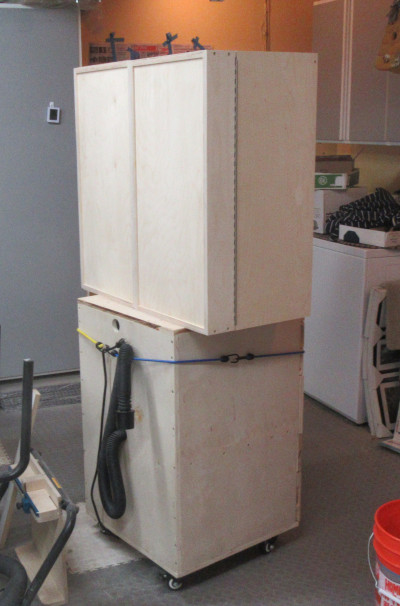
So I took the melamine top off my router table, and that looks like it’ll work, since it has wheels.
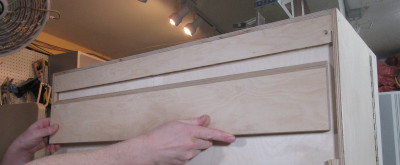
Steve has us using a french cleat system to mount the cabinet to the wall. It’s basically two pieces of wood with opposing 45-degree cuts. The piece in my hand gets attached to the wall…
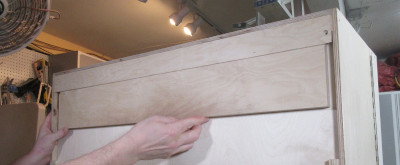
…and the one on the cabinet back slides over it, making a very secure mount.
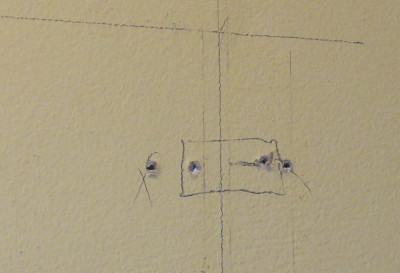
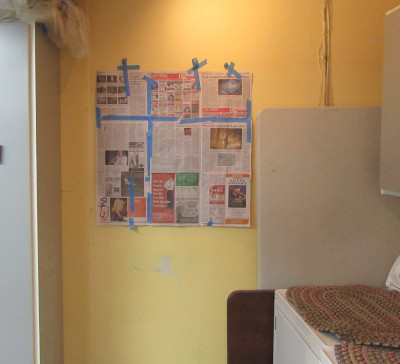
So I figured out where the studs were. No relying on some electronic gizmo here, because I needed to be exact…
…in order to make sure I got the lag bolts relatively close to the center of the 2x4s.
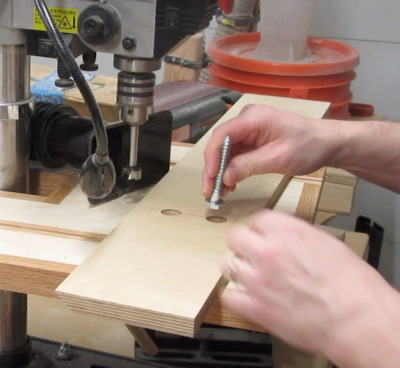
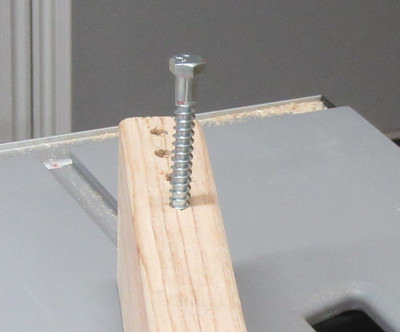
Then I had to drill holes in the wall cleat, that hopefully lined up with the studs. I had to get the counterbores the right depth so the heads of the lag bots would be below the surface…
…and, miracle of miracles, I got it right.
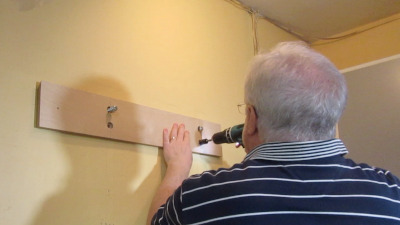
Now all we had to do was lift the cabinet up onto the cleat on the wall.
A couple of problems here. First, the cabinet is very heavy. Second, where are we going to stand?
Important tip:
Even if you think something isn’t going to work, turn on the camera!
I didn’t think we’d be able to lift it up to the wall, but we got ourselves situated and gave it a shot, and not only did we get it up on the wall, we nailed it. Got the cleats aligned perfectly.
Now all I have to do is figure out where to put the logo.
Oh, and paint, add door magnets, add shelves, figure out what tools to put here…
But who cares? It’s ON THE WALL!!
Woo hoo!!
Comments
Now you can comment as a Guest!
You won't receive email notifications of my replies, though.
- Use any name.
- Use test@example.com for your email address.
- “Check” all the boxes. Since you’re using a fake email address, it doesn’t matter what you agree to. 😛
I’ll have to approve your comment, but as long as you’re not spamming me, that’s no problem. Just remember that I do sleep sometimes, or I might be in the workshop, so I might not approve it right away.