In Sunday’s post, I showed getting the SawStop PCS home. Then the “fun” started.
Assembling and Attaching the Mobile Base
 My good friend Scott helped. And no, he’s not looking at my butt. 😄
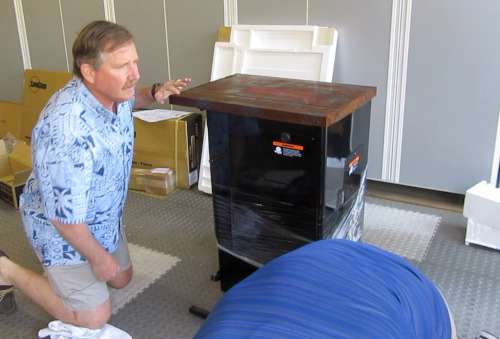
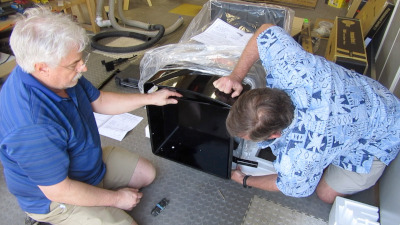
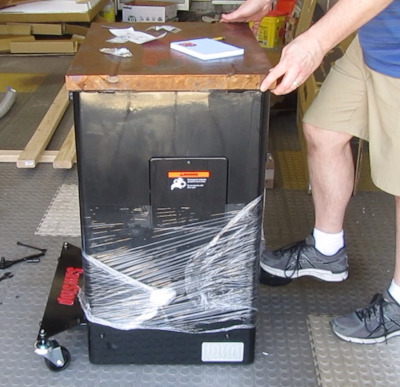
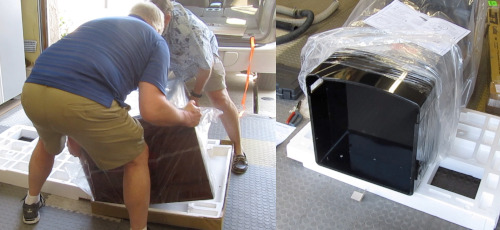 Following the instructions, we flipped the 280 pound cabinet over onto some styrofoam, so the bottom hung off the end.
Here’s how SawStop packages the hardware. Very nice:
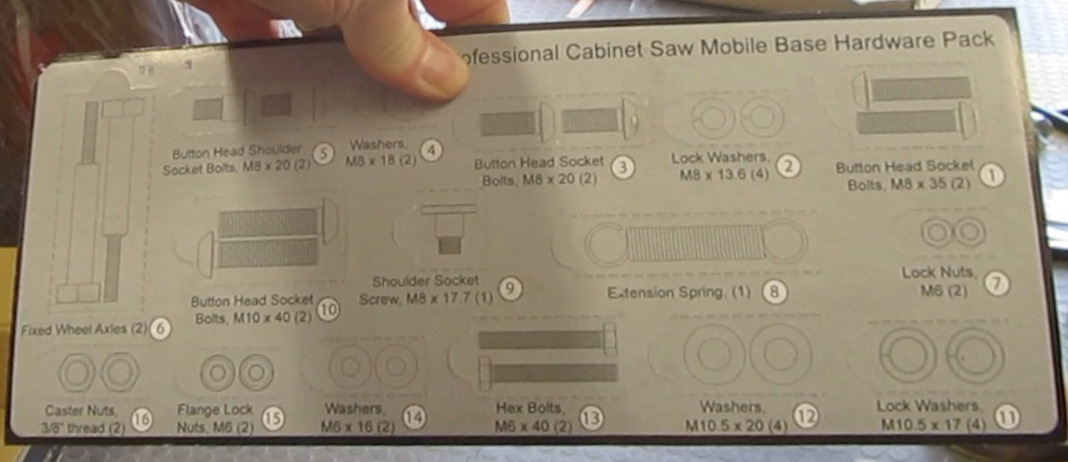 Click image to view full sized
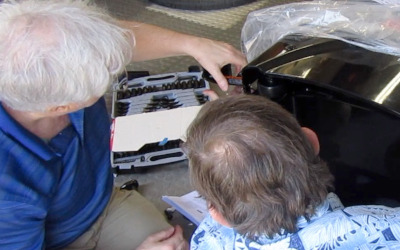
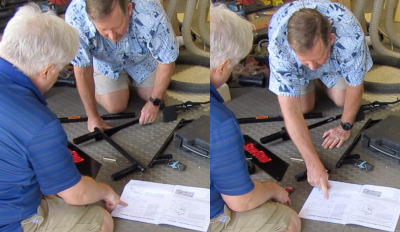 This is Scott and me trying to figure out the instructions. They’re well-written, but sometimes it takes two.
 Here I am
 watching supervising while Scott’s doing the work.
 And here’s Scott showing me something incredibly obvious, that I was too stupid to notice.
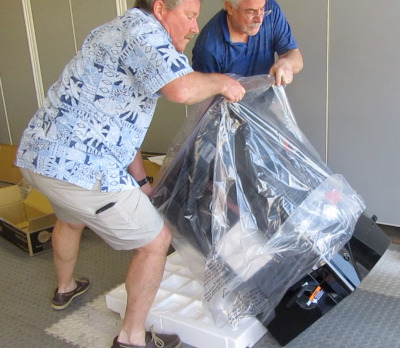 Once we got the base attached, we stood it up and got ready to install the casters.
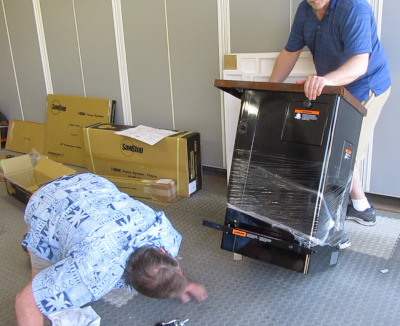 Apparently I misplaced one of the lock nuts, and we couldn’t find it. We also probably used two of the wrong lock washers earlier, so I needed to go to Home Depot and get what was missing.
I thanked Scott for his help, and let him go home. Thanks, Scott!
 When I got back from HD, I was able to finish up the base.
Assembling the Cabinet and Wings
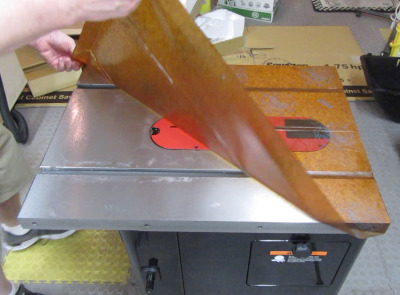 I started in on the cabinet by removing the paper…
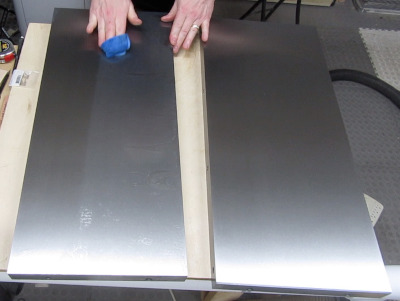
 …and wiping off the grease.
(The grease keeps the cast iron from rusting. I’ll be adding a coat of wax in a few days.)
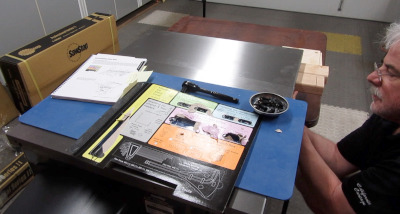
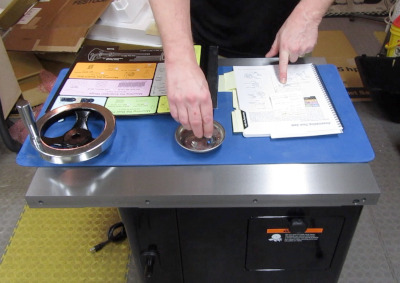 Here I am breaking a cardinal rule of how to take care of a table saw, by using it as a table. But at least I’m using a rubber mat.
I’ve got a magnetic bowl to put the hardware in, so I don’t lose anything else. I highly recommend using something like this.
 As good as the instructions are, I’ve got some suggestions for SawStop, and I’ll be emailing them.
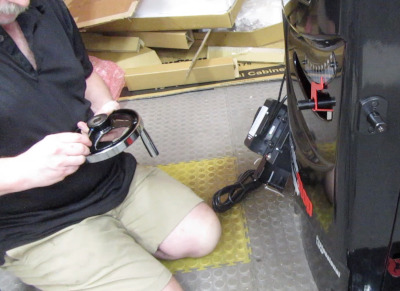
One of them is, it’s a lot easier to put the set screw in the wheel before putting it on the saw.
 The cast iron wings are coated in grease also.
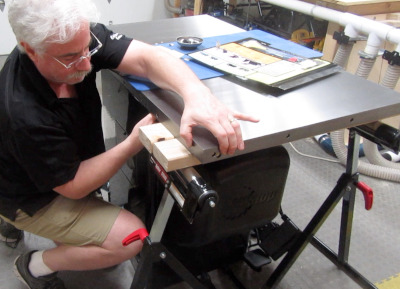
 Here I am trying to attach one of the 40 pound wings. I’m using a card table and some 2x4s to hold the wing while I attach the bolts.
 I got smarter for the other wing, and used my Harbor Freight roller stands to hold the wing. I duct-taped the rollers so they wouldn’t, well, roll.
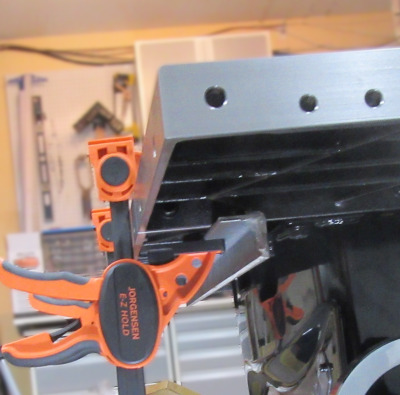 I clamped a piece of angle iron underneath to help align the wings with the table top.
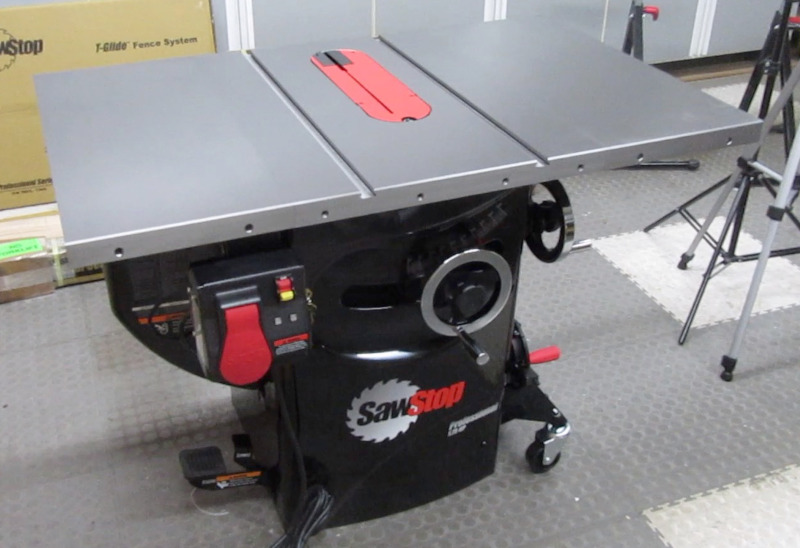
It worked pretty well:
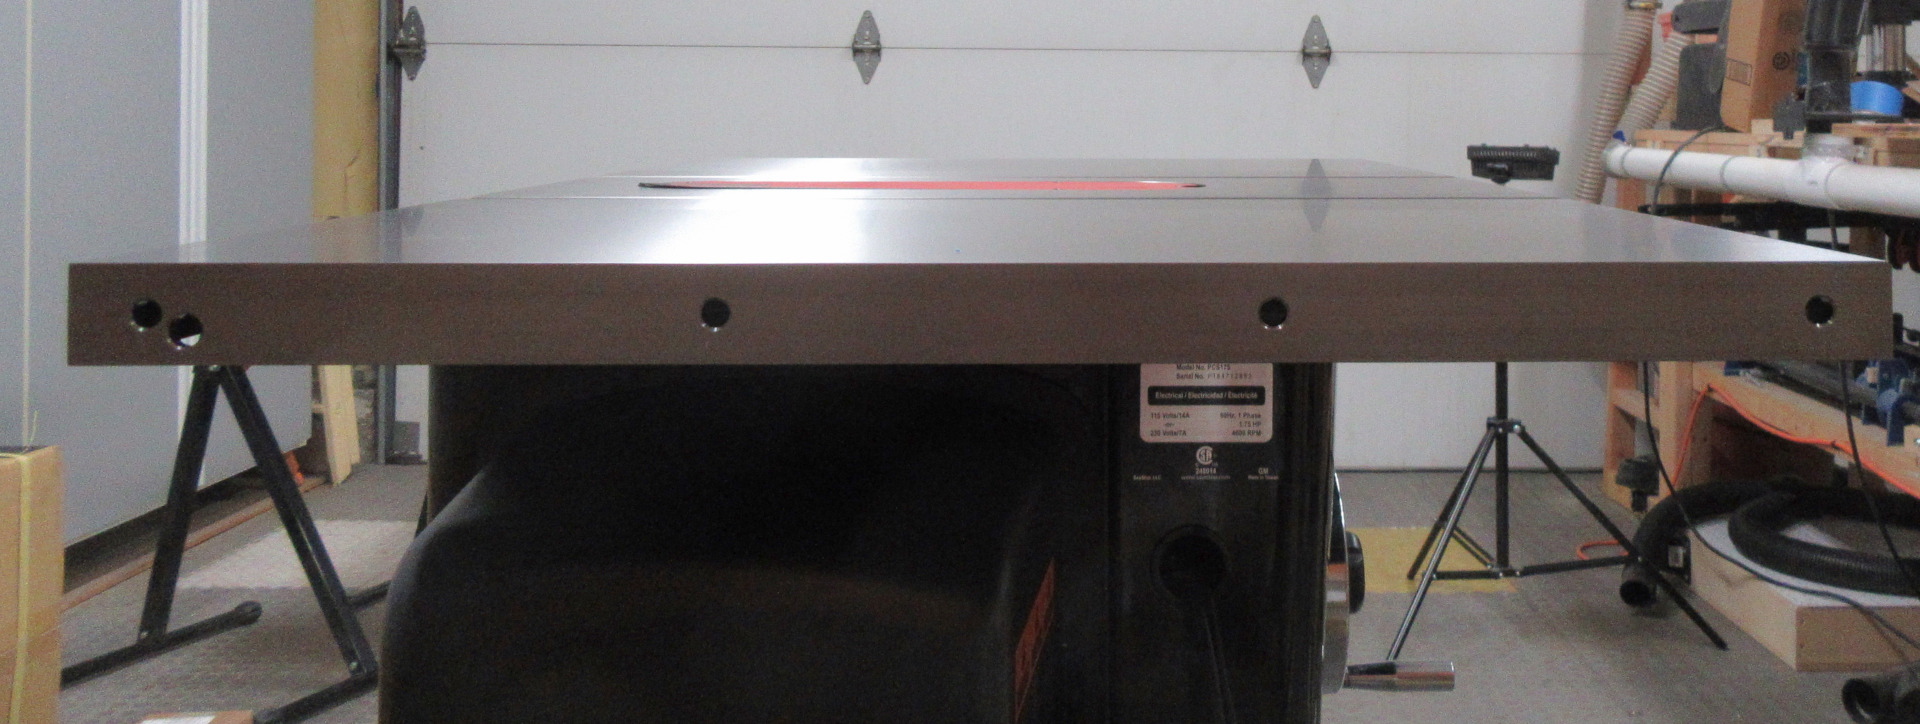 Click image to view full sized
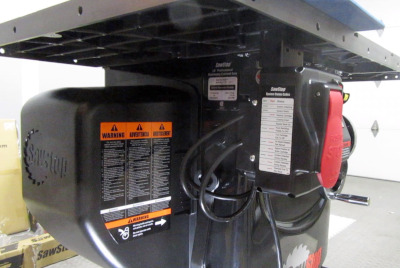 There was a bunch of other things to do, like attach the power switch to the cabinet, and the hook that lets you hang the arbor wrenches…
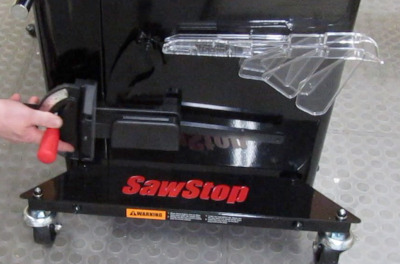 …and the accessory holder on the other side…
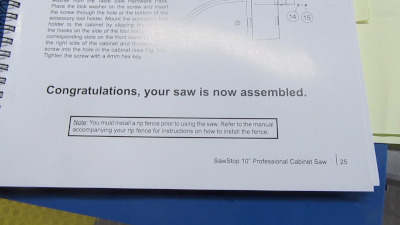 …but eventually, my saw was assembled!
Bzzzz. Not even close. Stinking, lying instructions! 😛
Here’s what it looked like at this point:
I’ll continue the story tomorrow.
Later.
Comments
Now you can comment as a Guest!
You won't receive email notifications of my replies, though.
- Use any name.
- Use test@example.com for your email address.
- “Check” all the boxes. Since you’re using a fake email address, it doesn’t matter what you agree to. 😛
I’ll have to approve your comment, but as long as you’re not spamming me, that’s no problem. Just remember that I do sleep sometimes, or I might be in the workshop, so I might not approve it right away.