Here’s some tips I came up with while assembling my SawStop PCS. Take them or leave them, but at least read them just in case I have something valuable.
1) Box dimensions.
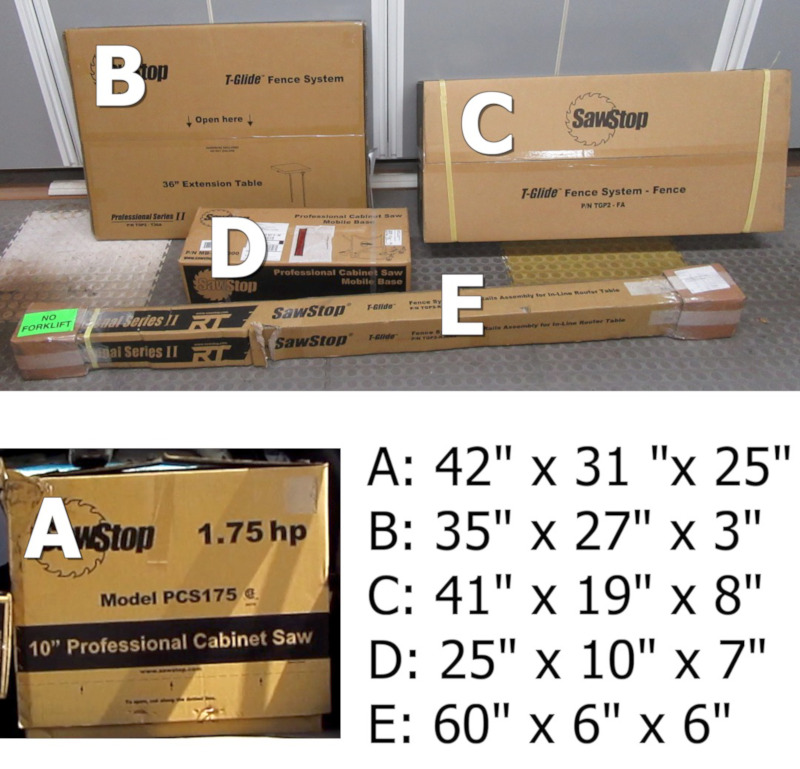 Here’s the box sizes, for my 1.75hp 36” PCS.
The total weight is over 400 pounds.
2) Cardboard.
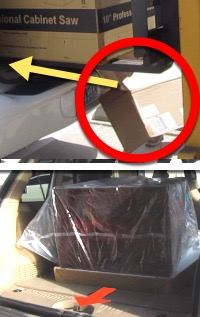 This only applies if you’re picking up the saw yourself, and you’re putting it in a vehicle with carpet.
Put a piece of cardboard under the box, so the box doesn’t sink into the carpet.
And make sure the cardboard sticks out from underneath the box towards the hatch, or it won’t do you much good.
3) Unload everything you can first.
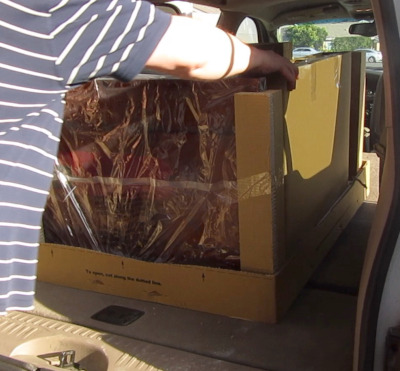 Before trying to unload the big box, cut it open and remove everything you can from it, except the cabinet.
4) Have help to unload the cabinet.
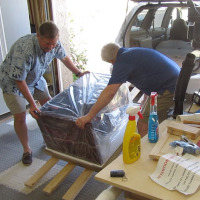 I don’t know the exact weight of the cabinet, but I think it’s over 300 pounds. Regardless, if you can, get help to unload it. You don’t want to ruin your new baby!
5) Put the base on now.
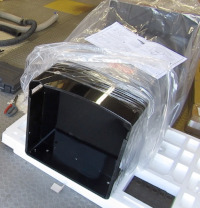 If you don’t have the base yet, because it’s being shipped to you separately, wait for it before assembling the saw.
Putting it on afterwards is a PITA. It’s doable, and the instructions tell you how to do it, but if you can, wait.
6) Read the instructions beforehand.
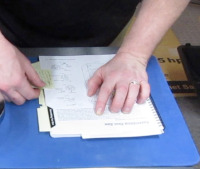 Before you assemble anything, read the instructions all the way through.
Make notes if you need to.
7) Don’t miss the hardware numbers.
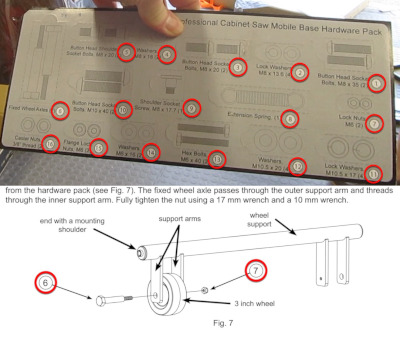 The hardware parts are numbered, and the instructions reference the numbers.
I missed this at the start, and it cost me. So don’t miss the numbers!
8) Use a magnetic parts holder.
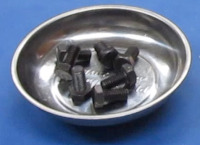 I lost a lock nut before I realized I should be using a magnetic bowl to hold the screws and nuts and stuff.
Learn from my mistake.
9) Don’t use water-based products on cast iron.
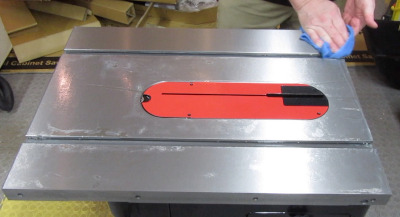 If you’ve never had a cast-iron saw, read up on how to care for it. The manual has a section on it near the back.
Never, ever use water-based products on it, like Windex or Formula 409 or anything like that. Don’t even spit on it, and if you drip sweat on it, wipe it off right away. Trust me on this.
10) Don’t miss the long hex keys.
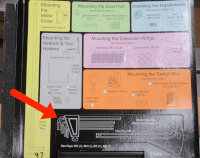 There’s a set of nice long hex keys included in the package, and they’re quite helpful.
Don’t miss them like I did. (Noticing a trend here?)
11) Install the set screws first.
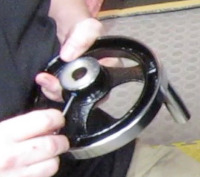 Add the set screws to the handwheels before attaching the handwheels to the shafts. It’s harder to get the set screws on otherwise.
Screw them down until they’re almost sticking out into the hole for the shaft.
12) Help with attaching the wings.
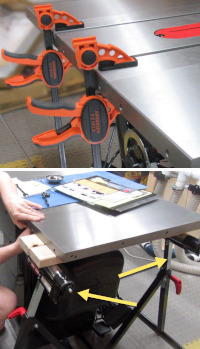 The cast iron wings each weight 40 pounds, so it’s hard to hold them while attaching the bolts.
One option someone on the SawStop Users’ Group on Facebook mentioned is to clamp 2x4s underneath the main table, to hold the wings while attaching them. Sounds like a great idea and better than mine. Thanks, Thi!
But here’s what I did, even if it isn’t as good an idea. I used a couple of cheap Harbor Freight roller stands (with the rollers duct taped so they wouldn’t move) and some 2x4s to help hold them.
It was fairly easy to get them to the right height.
13) Use a block of wood to check wing alignment.
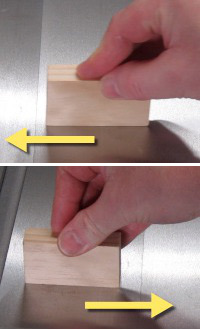 When you’re trying to get the wings aligned to the table top, use a block of wood with nice, sharp corners to see if they’re aligned or not.
Slide the block across the joint, in both directions, to make sure it doesn’t catch on the seam. When it slides smoothly in both directions, you’ve got it perfect!
14) Don’t crack the extension table.
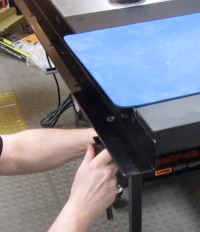 The extension table is made out of light wood. Don’t tighten down the bolts for the legs too tight, or you’ll crack the wood. DAMHIK.
15) Setting up the fence.
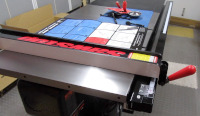 Check out my tips on setting up the T-Glide fence.
Comments
Now you can comment as a Guest!
You won't receive email notifications of my replies, though.
- Use any name.
- Use test@example.com for your email address.
- “Check” all the boxes. Since you’re using a fake email address, it doesn’t matter what you agree to. 😛
I’ll have to approve your comment, but as long as you’re not spamming me, that’s no problem. Just remember that I do sleep sometimes, or I might be in the workshop, so I might not approve it right away.