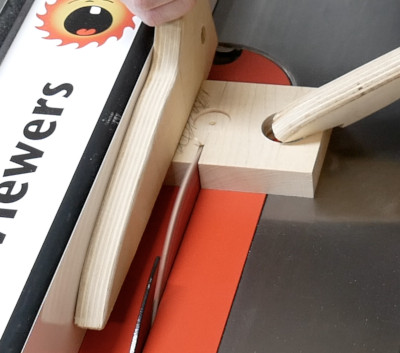
1) Cut the Stock
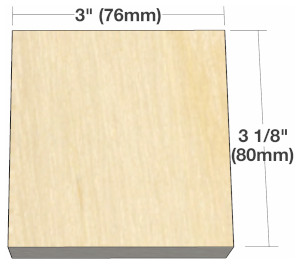 Start by cutting a block of wood as shown. I used 3/4” (19mm) maple. You can use any kind of wood you want.
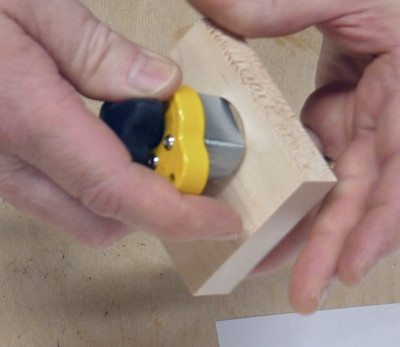
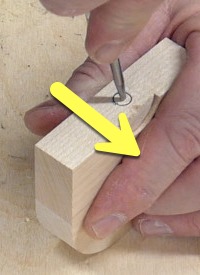
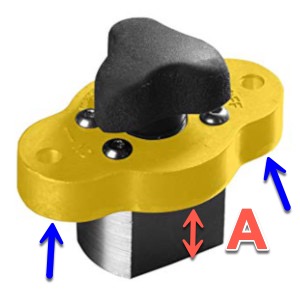 The perfect thickness for the stock is just a hair thicker than the height of the bottom portion of the magnet (A).
If it’s a little thinner, you can add some painters tape later on to raise the magnet up a little (blue arrows).
And if it’s a little too thick, you can sand it down later.
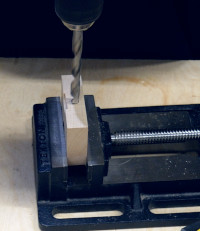
2) Drill the Holes & Final Cut
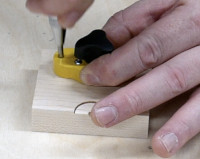
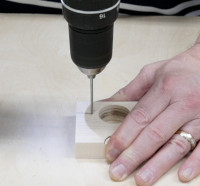
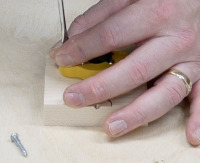
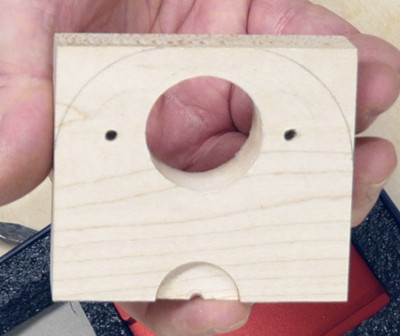
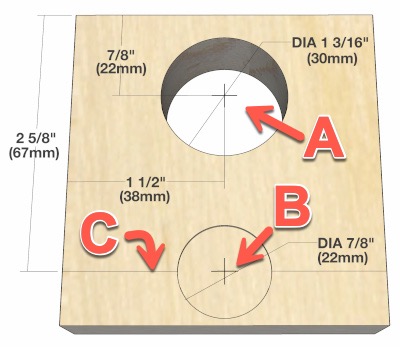 a) Drill the hole for the switch (A).
b) Drill a shallow counterbore for the base of the gauge (B).
 c) Then cut the bottom portion off (C above).
 d) If the switch doesn’t fit in the hole, sand or file the hole until it does.
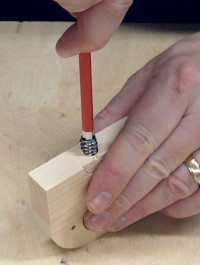
3) Attach the Switch
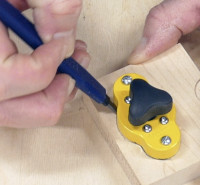
 a) Use a punch to mark where the screws should go…
 b) …drill pilot holes…
 c) …and attach the switch with screws.
 d) Make sure the switch is just a small amount shy of the bottom of the block.
If it sticks out, the jig won’t lie flat, and it could possibly scratch your table top. If it’s too shy, the magnet may not hold.
Use painters tape to raise it up a little, or sand to lower it a little.
4) Round the Edges (optional)
 If you’re going to round the edges next to the switch, you can do that now.
There’s no real purpose to rounding the corners, other that aesthetics.
 Make sure you leave enough room for the switch. I outlined the switch before I drew the lines for the corners.
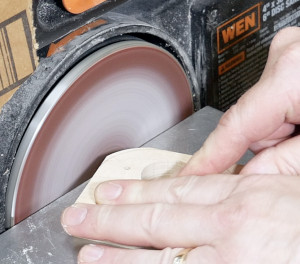 Use a jig saw, a band saw, a coping saw, a router, a
 light saber (might catch the wood on fire)…
…or just sand them round.
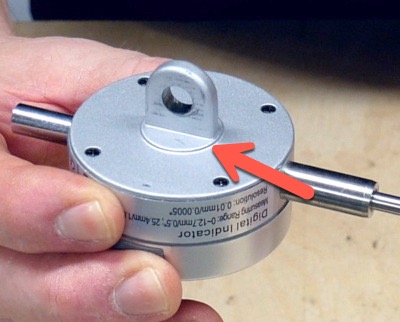
5) Attach the Gauge
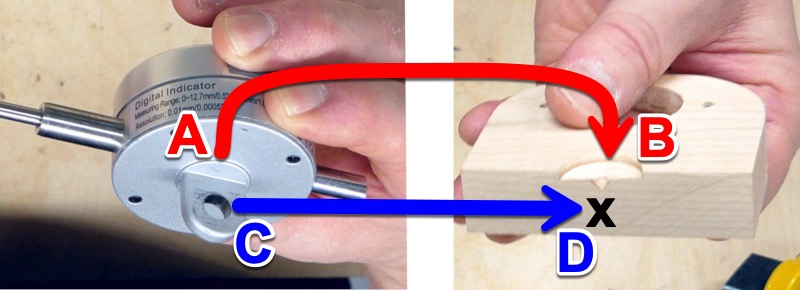
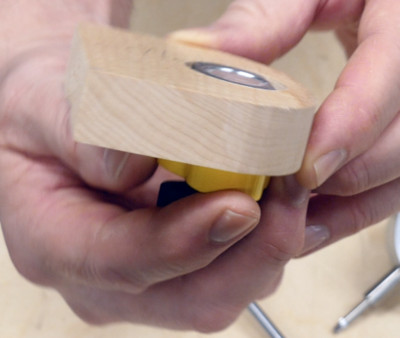
 The raised portion on the underside of the gauge (A above) will sit in the counterbore you drilled earlier (B above).
The stem of the gauge (C above) will fit against the side of the jig (D above), and screw into a threaded insert (X above).
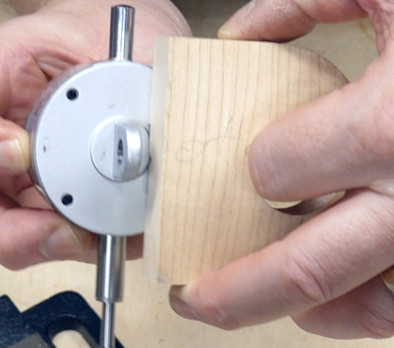
a) Mark a circle where the hole will be on the jig.
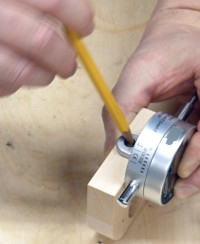
 b) Punch the center, but if anything, make it a little closer to the side with the counterbore.
 c) Drill the hole for the threaded insert…
 d) …then use a hex wrench to screw the threaded insert into the jig…
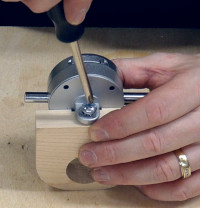 e) …and finally, use a machine screw to attach the gauge.
6) Finishing Up
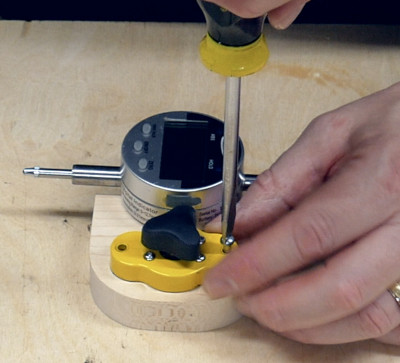 Reattach the gauge…
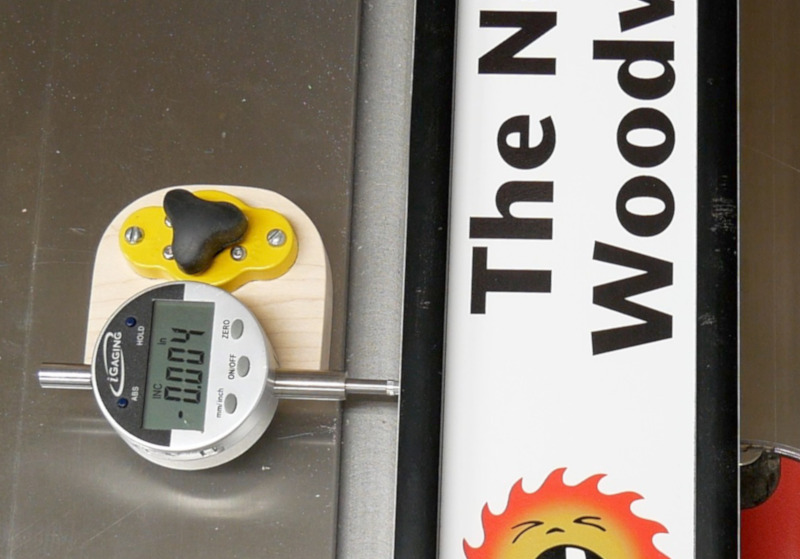
…and you’re good to go!
Comments
Now you can comment as a Guest!
You won't receive email notifications of my replies, though.
- Use any name.
- Use test@example.com for your email address.
- “Check” all the boxes. Since you’re using a fake email address, it doesn’t matter what you agree to. 😛
I’ll have to approve your comment, but as long as you’re not spamming me, that’s no problem. Just remember that I do sleep sometimes, or I might be in the workshop, so I might not approve it right away.