I’m working on another video, so I haven’t done a lot of work on the router table, but I actually have done something.
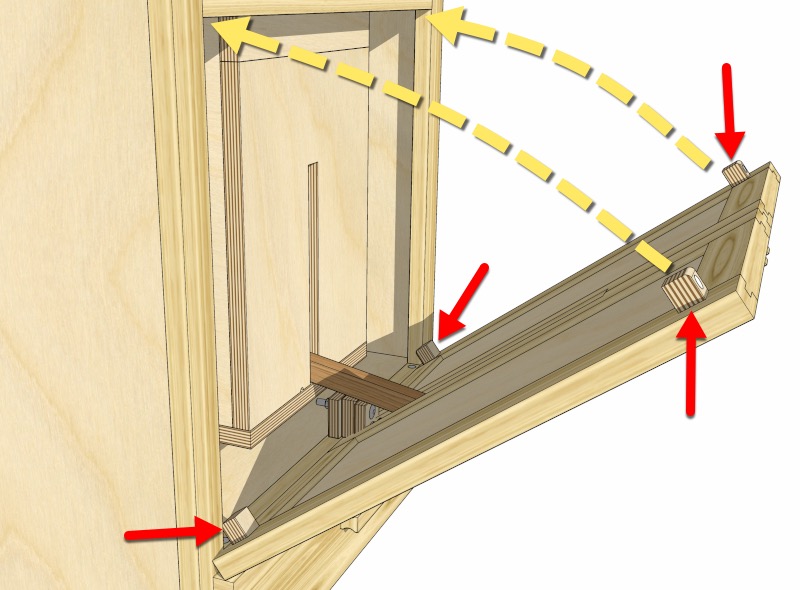
As you may remember, the door facade will be held in by blocks with magnets, that squeeze into the corners of the opening, like this:
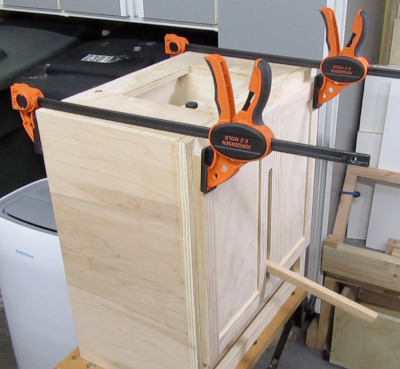 So I clamped the door facade to the front of the lift, positioned so the lever can move up and down in the slot freely.
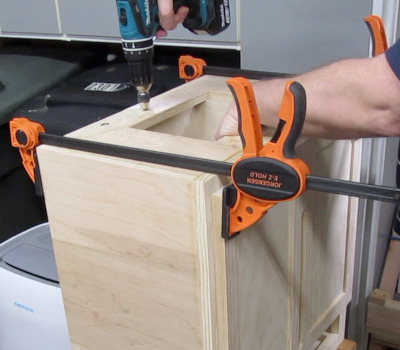 Then I unscrewed the lift so I could drop it down out of the way…
 …so I could reach inside with a pencil and draw an outline around the opening.
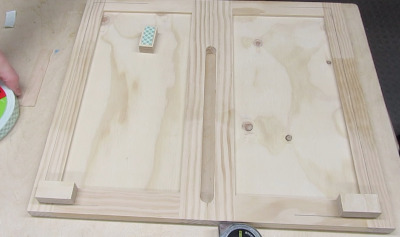 I used some double-sided tape to position the four blocks, so I could make sure they’re in the right spot.
I have to remember not to use this type of double-sided tape anymore, because it’s too hard to remove.
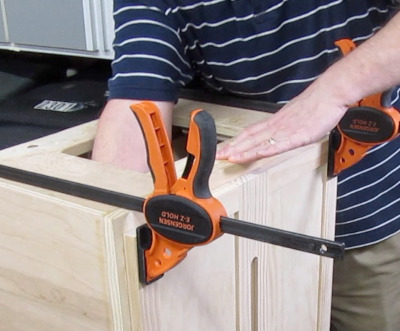
 Eventually I got them in the right place.
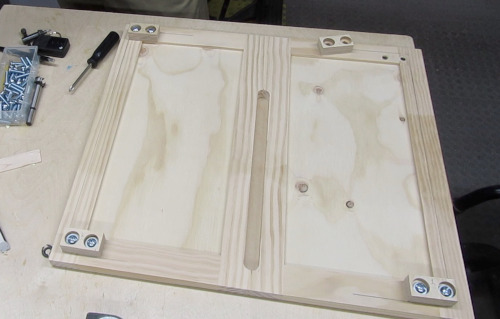 I put threaded inserts in the door, and drilled oversized counterbored holes in the blocks, so I could use machine screws and washers to attach the blocks.
This allows me to reposition them until I get a Goldilocks fit.
 Like this.
Next Up:
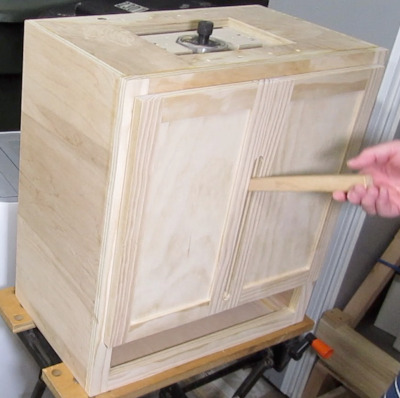
Next step is to add the magnets, finish the lift door, make the lever, and build the drawer.
Later.
Comments
Now you can comment as a Guest!
You won't receive email notifications of my replies, though.
- Use any name.
- Use test@example.com for your email address.
- “Check” all the boxes. Since you’re using a fake email address, it doesn’t matter what you agree to. 😛
I’ll have to approve your comment, but as long as you’re not spamming me, that’s no problem. Just remember that I do sleep sometimes, or I might be in the workshop, so I might not approve it right away.