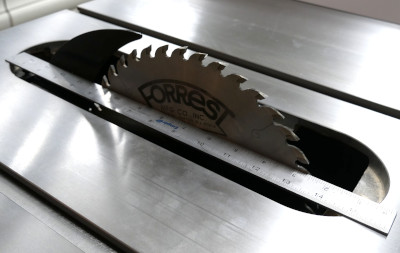
 After installing my new Forrest blade, I had to adjust the gap between the riving knife and the blade, and re-align the riving knife. Sounds easy, right? If it were, I wouldn’t be writing about it.
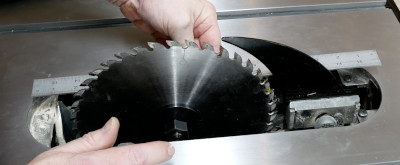
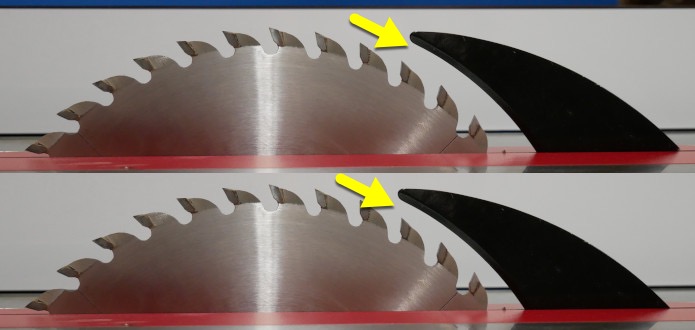 This is the gap I’m talking about.
By the way, the top pic is photoshopped to exaggerate the differences, so it’s a little more obvious.
Loosening the Bolts
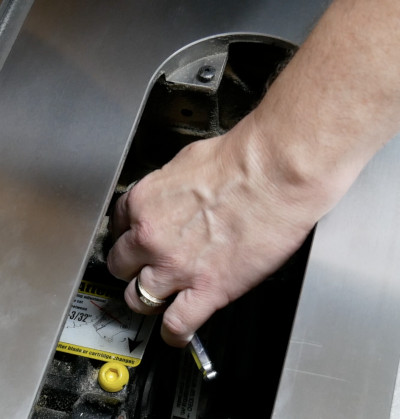
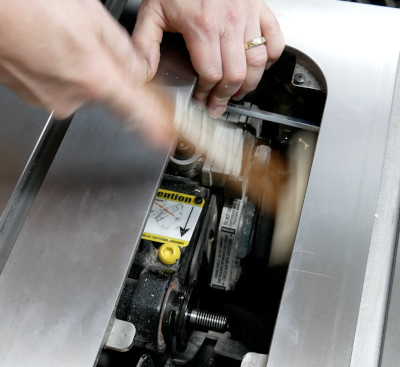
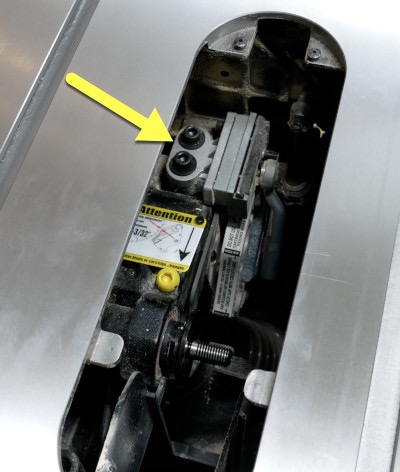 The first step is to loosen these two bolts, so I could slide the riving knife closer to the blade.
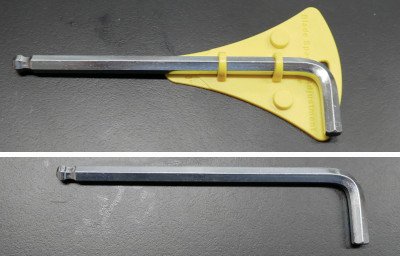 I talked about this yellow plastic holder and hex key in yesterday’s post.
I’ll be using the 8mm hex key to loosen the bolts.
 But as I tried to loosen the bolts, I couldn’t budge them, even with the non-rounded end.
After visiting the SawStop Users’ Group on Facebook, I learned that other people had problems with these bolts. So the solution was obvious…
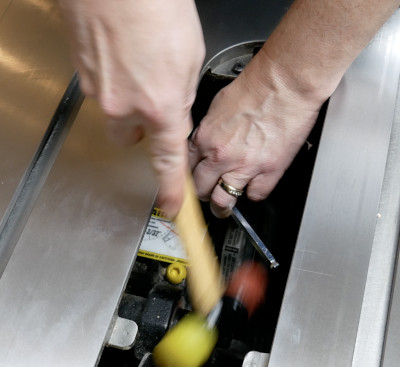 Percussive maintenance! But this mallet wasn’t the answer…
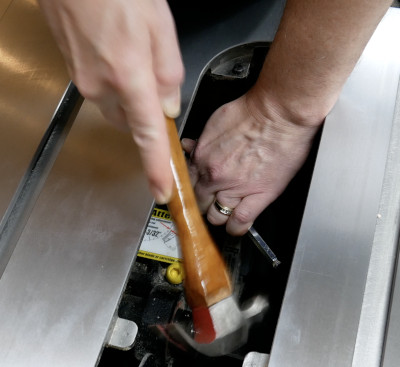 …and neither was this dinky hammer…
 …but this mallet seemed like it would do the trick, except I needed a better angle…
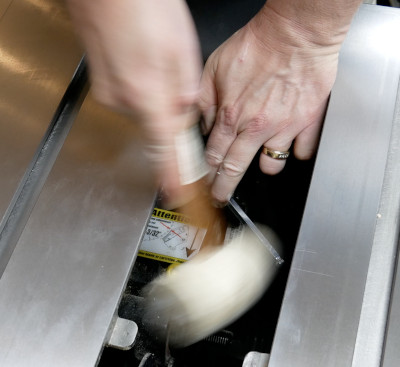
 …so after raising the blade up some, so I didn’t end up smacking an important bolt, it finally came lose.
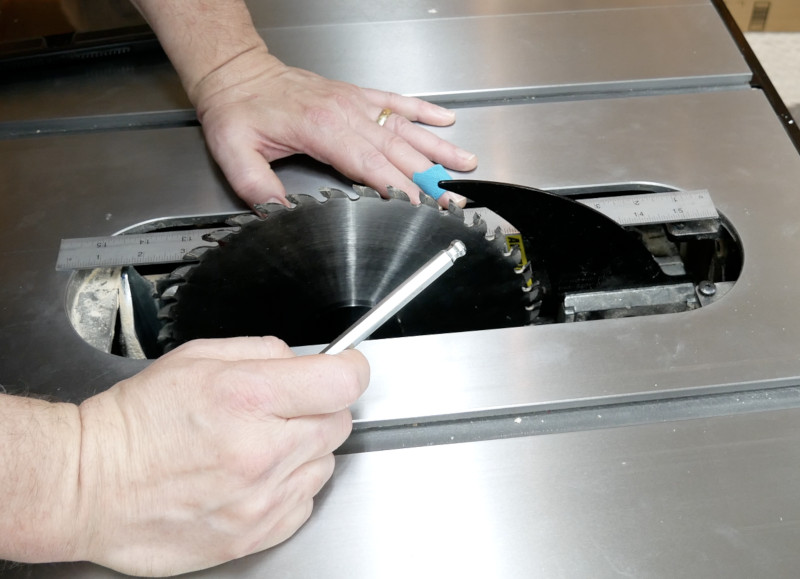
Adjusting the Riving Knife
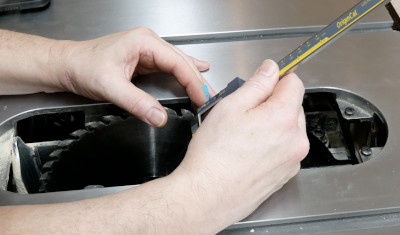 I slid the riving knife towards the blade, so it was between 4-7mm away from the blade.
 But loosening the bolts also allows the riving knife to move left and right, which means I had to re-align it.
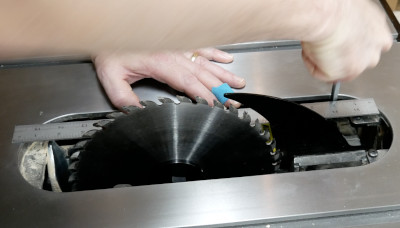
You align the riving knife to the blade by placing a straight edge against the left side of blade…
 …avoiding the teeth, and move the riving knife until it’s flush with the ruler.
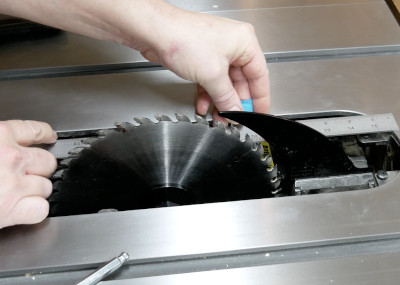
Tightening the Bolts
 Every time I tried to tighten the bolts, the riving knife would move side-to-side. It was extremely frustrating, to say the least.
 But eventually I got it to stay put, at least close enough, and this ordeal was finally over.
Later.
Comments
Now you can comment as a Guest!
You won't receive email notifications of my replies, though.
- Use any name.
- Use test@example.com for your email address.
- “Check” all the boxes. Since you’re using a fake email address, it doesn’t matter what you agree to. 😛
I’ll have to approve your comment, but as long as you’re not spamming me, that’s no problem. Just remember that I do sleep sometimes, or I might be in the workshop, so I might not approve it right away.