This is part 2 of assembling my new SawStop PCS. I left off with having just attached the cast iron wings:
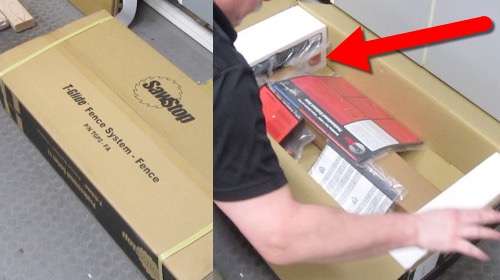 Next up are the fence, rails, and extension table. The instructions are in the fence box.
Don’t forget that the red fence handle is in the styrofoam. 🙄
Rails
 Here’s the rails.
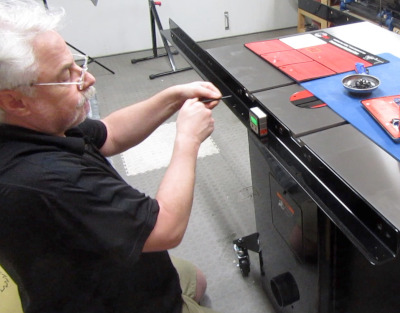
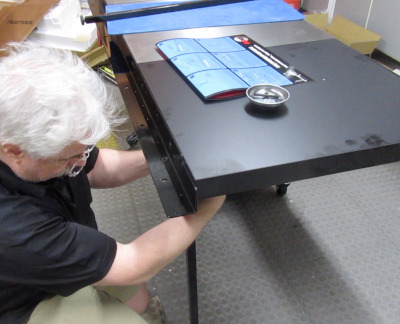
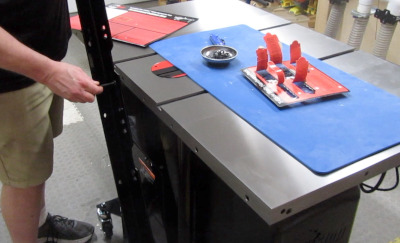 Even though the rails are heavy, it’s pretty easy to put them on. You just start with one of the middle screws…
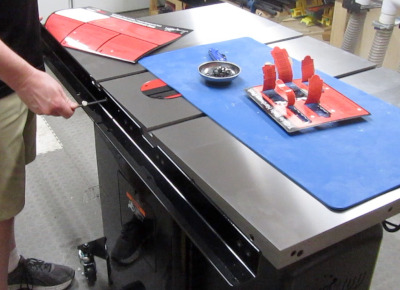 …then add another, and Bob’s your uncle.
 I used a digital angle gauge to help get both rails level. Don’t know how much it helped, but I figured it couldn’t hurt.
Extension Table & Legs
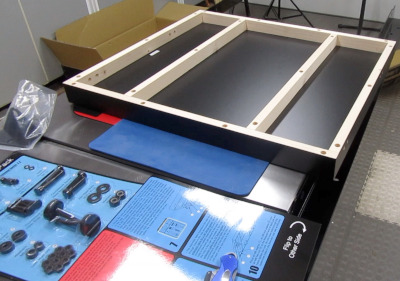 Next up is the extension wing, which is made out of wood.
 You add a couple of supports to the rails, and an attachment to the extension table…
 …and attach it.
 Attach the legs…
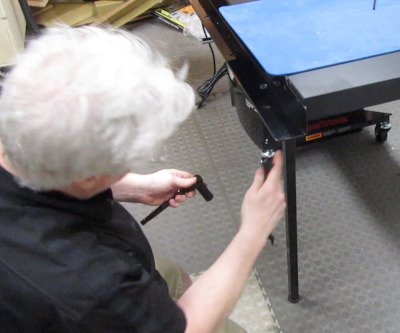 …and try to remember that the extension table is made out of wood - soft wood, so if you crank that ratchet too tight, you’ll hear a “crack”. 😮
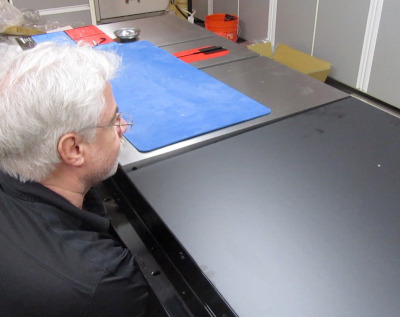
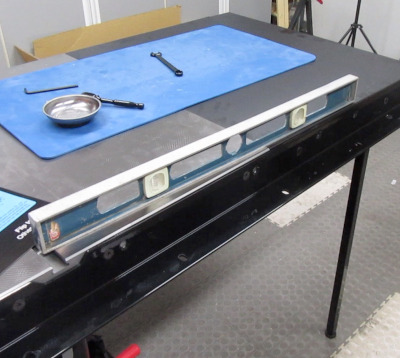 When you try and get the extension table flush with the extension wings, I recommend not using a beat-up old level as your straight edge - especially one that’s not straight.
 I finally used a straight edge that is actually straight. (The painters tape on the back is so it doesn’t slide around, if I use it as a circular saw guide.)
But I have to tell you, it was NOT easy getting it aligned.
Tube and fence
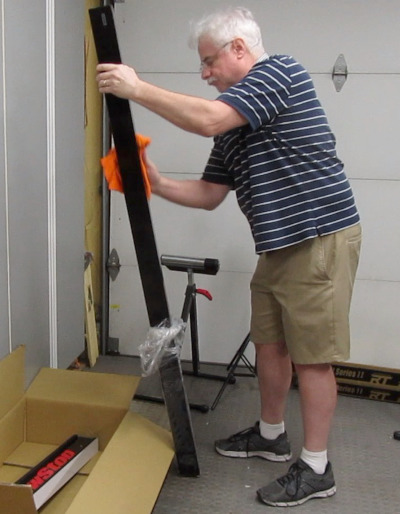 The front tube that was covered in grease, so I had to be careful not to drop it while I took off the plastic wrap.
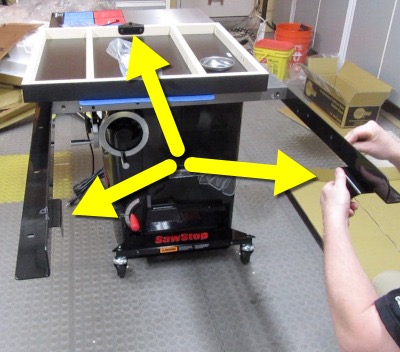
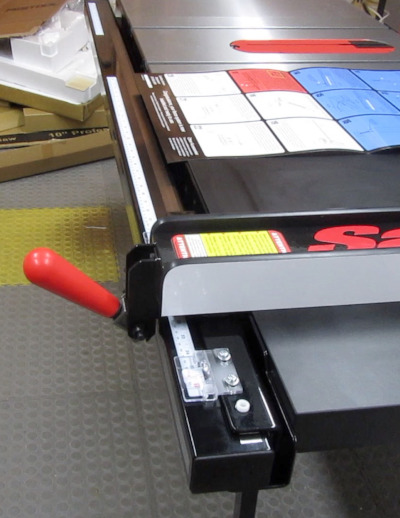
 Attaching the tube was pretty easy when I used my roller stands again (taped to prevent them rolling, of course).
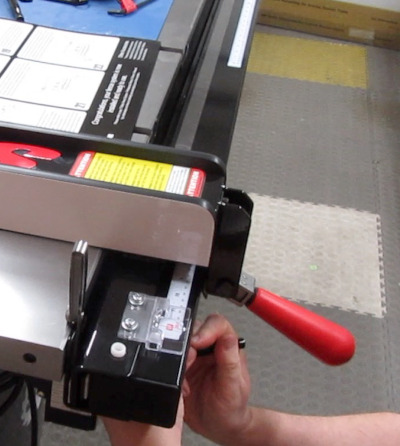 You use the fence to determine the spacing between the tube and the rail…
 …at both ends.
Finishing up
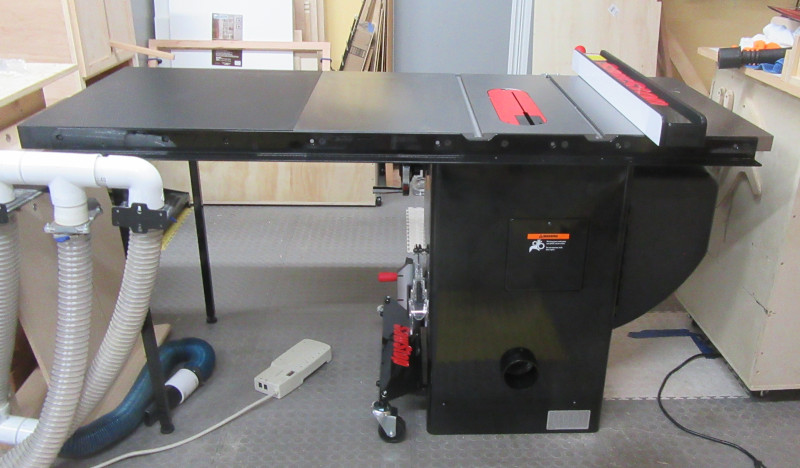
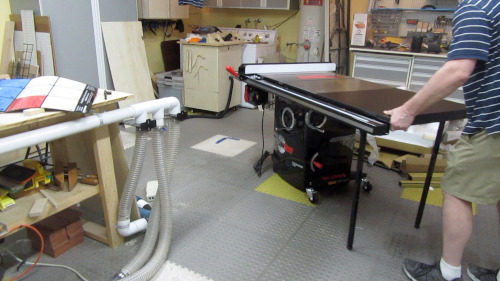 I wheeled the table to its new home. The mobile base worked pretty well.
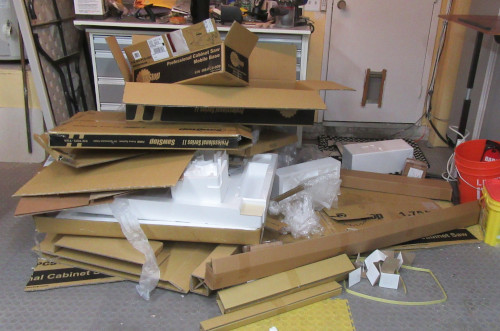 But that didn’t mean I was done…
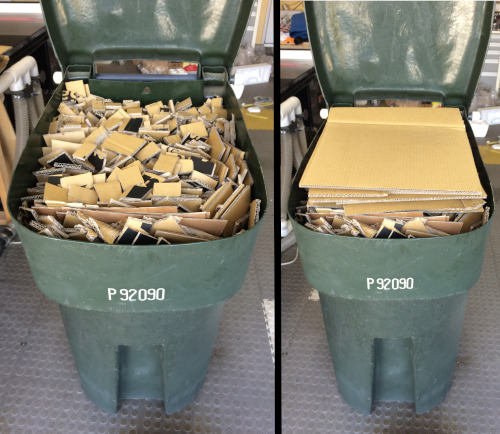 Some creative cardboard cutting let me get all the cardboard in the recycle trash bin.
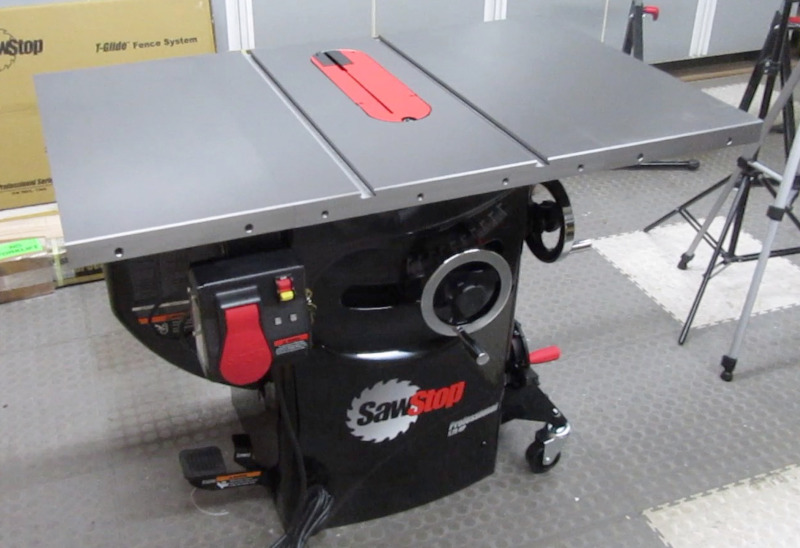
And here it is, all comfy in its new home.
More to come…
Later.
Comments
Now you can comment as a Guest!
You won't receive email notifications of my replies, though.
- Use any name.
- Use test@example.com for your email address.
- “Check” all the boxes. Since you’re using a fake email address, it doesn’t matter what you agree to. 😛
I’ll have to approve your comment, but as long as you’re not spamming me, that’s no problem. Just remember that I do sleep sometimes, or I might be in the workshop, so I might not approve it right away.